DevOps(Day-65): Working with Terraform Resources 🚀

I like to explore the technology in DevOps area where I write blog about my learning each day on the tools that is mostly used in Industries for DevOps practices. You can go through my blogs and reach me out in LinkedIn for any suggestions.
Yesterday, we saw how to create a Terraform script with Blocks and Resources. Today, we will dive deeper into Terraform resources.
Understanding Terraform Resources
A resource in Terraform represents a component of your infrastructure, such as a physical server, a virtual machine, a DNS record, or an S3 bucket. Resources have attributes that define their properties and behaviours, such as the size and location of a virtual machine or the domain name of a DNS record.
When you define a resource in Terraform, you specify the type of resource, a unique name for the resource, and the attributes that define the resource. Terraform uses the resource block to define resources in your Terraform configuration.
Task 1: Create a security group
To allow traffic to the EC2 instance, you need to create a security group. Follow these steps:
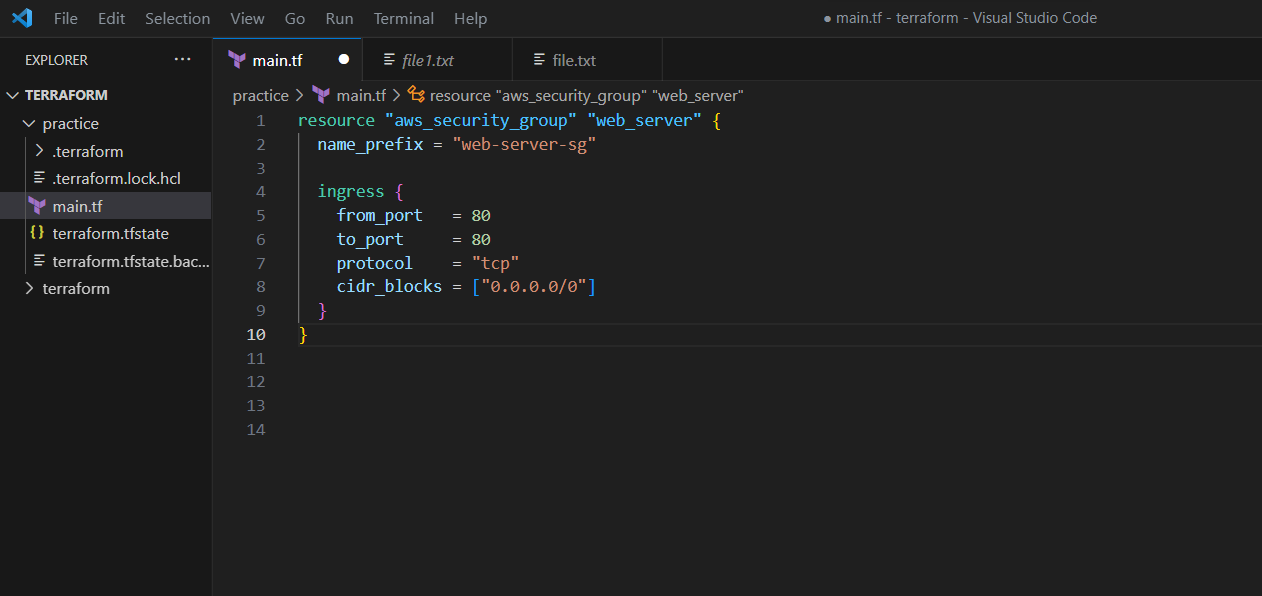
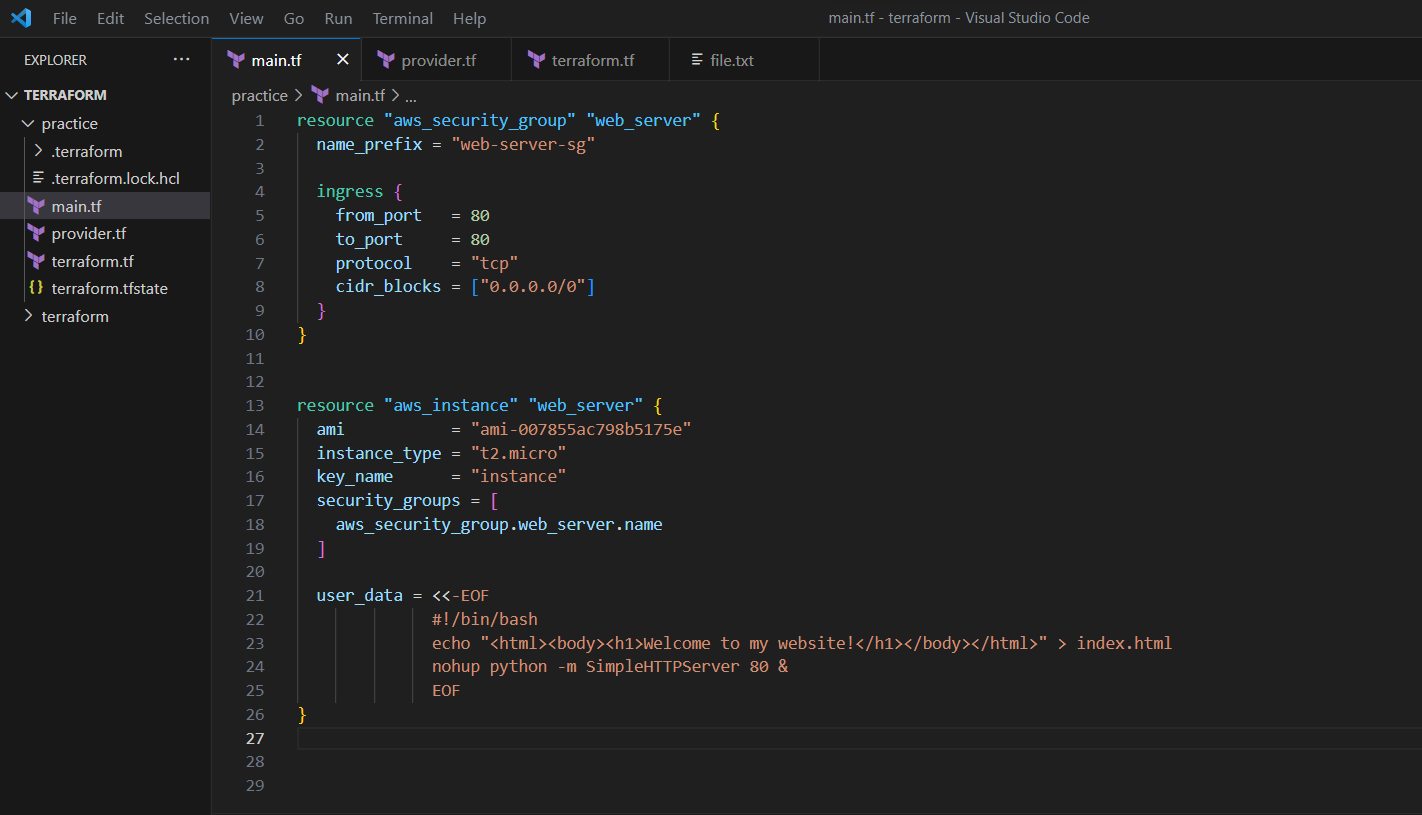
In your main.tf file, add the following code to create a security group:
resource "aws_security_group" "web_server" {
  name_prefix = "web-server-sg"

  ingress {
    from_port   = 80
    to_port     = 80
    protocol    = "tcp"
    cidr_blocks = ["0.0.0.0/0"]
  }
}
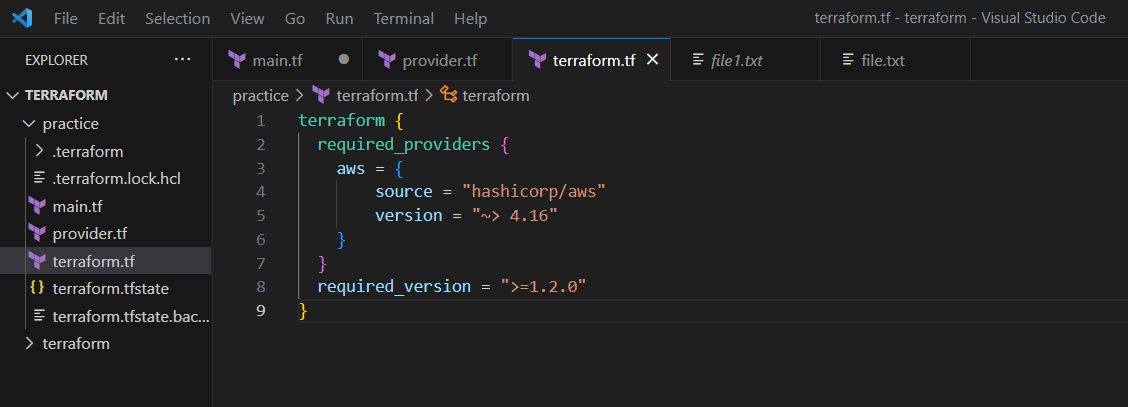
Create the terraform.tf file to define the providers
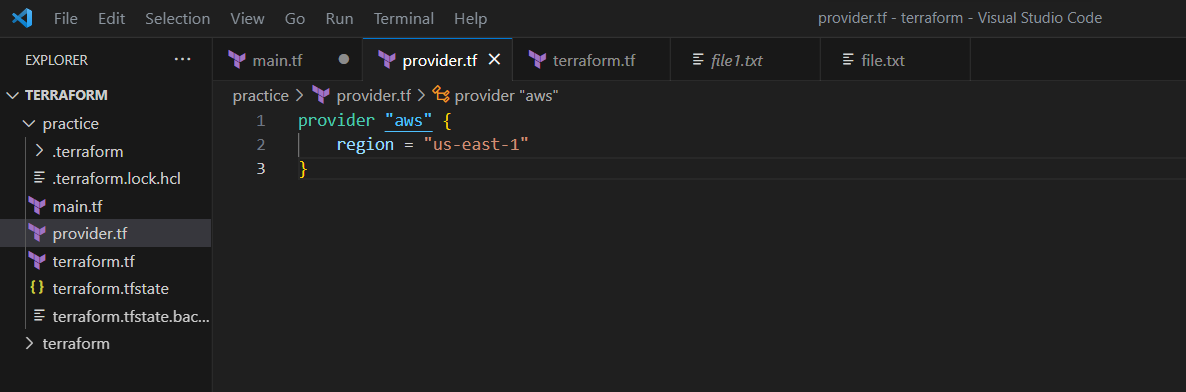
Create the provider.tf file to define the region.
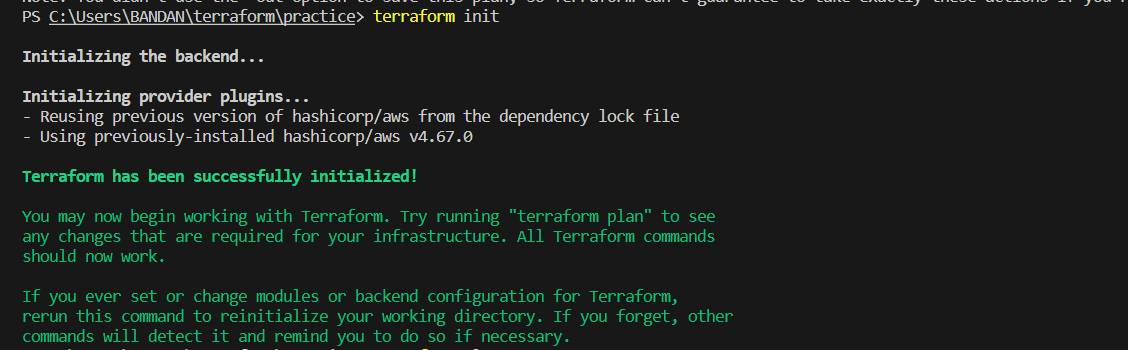
Run terraform init to initialize the Terraform project.
Run terraform apply to create the security group.
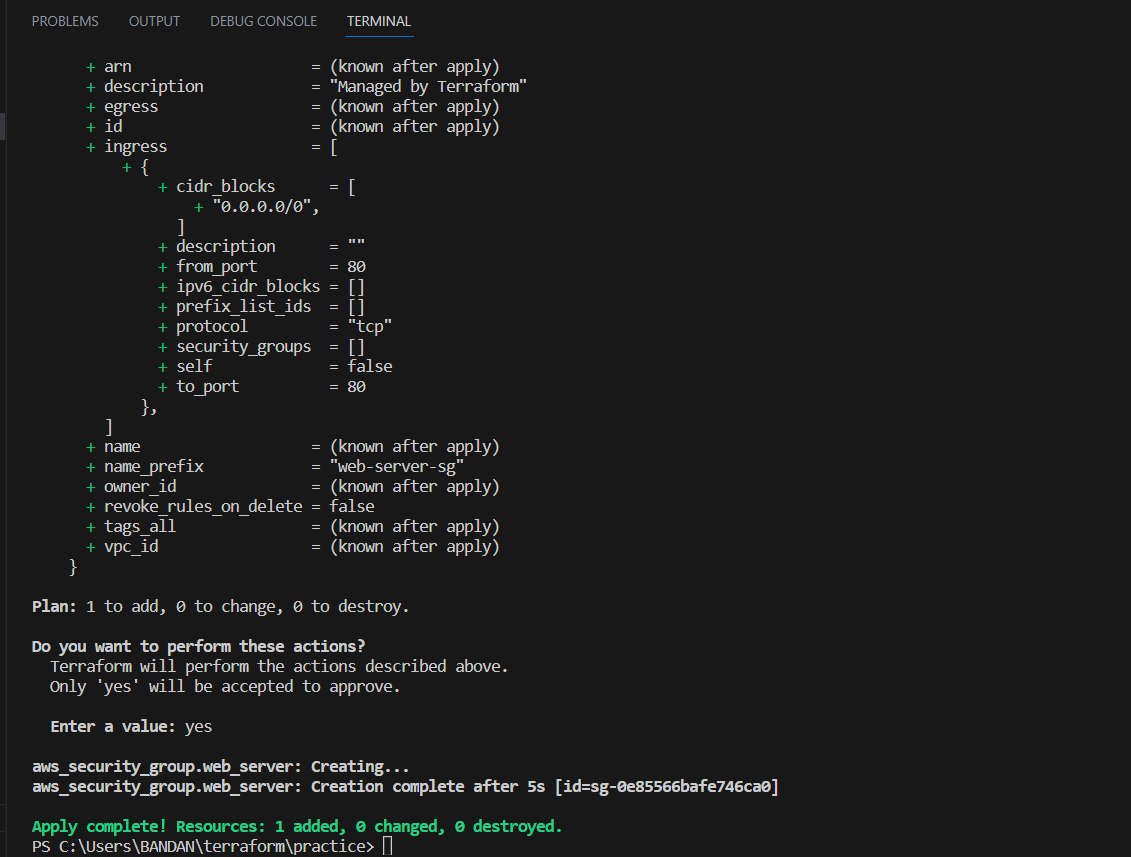
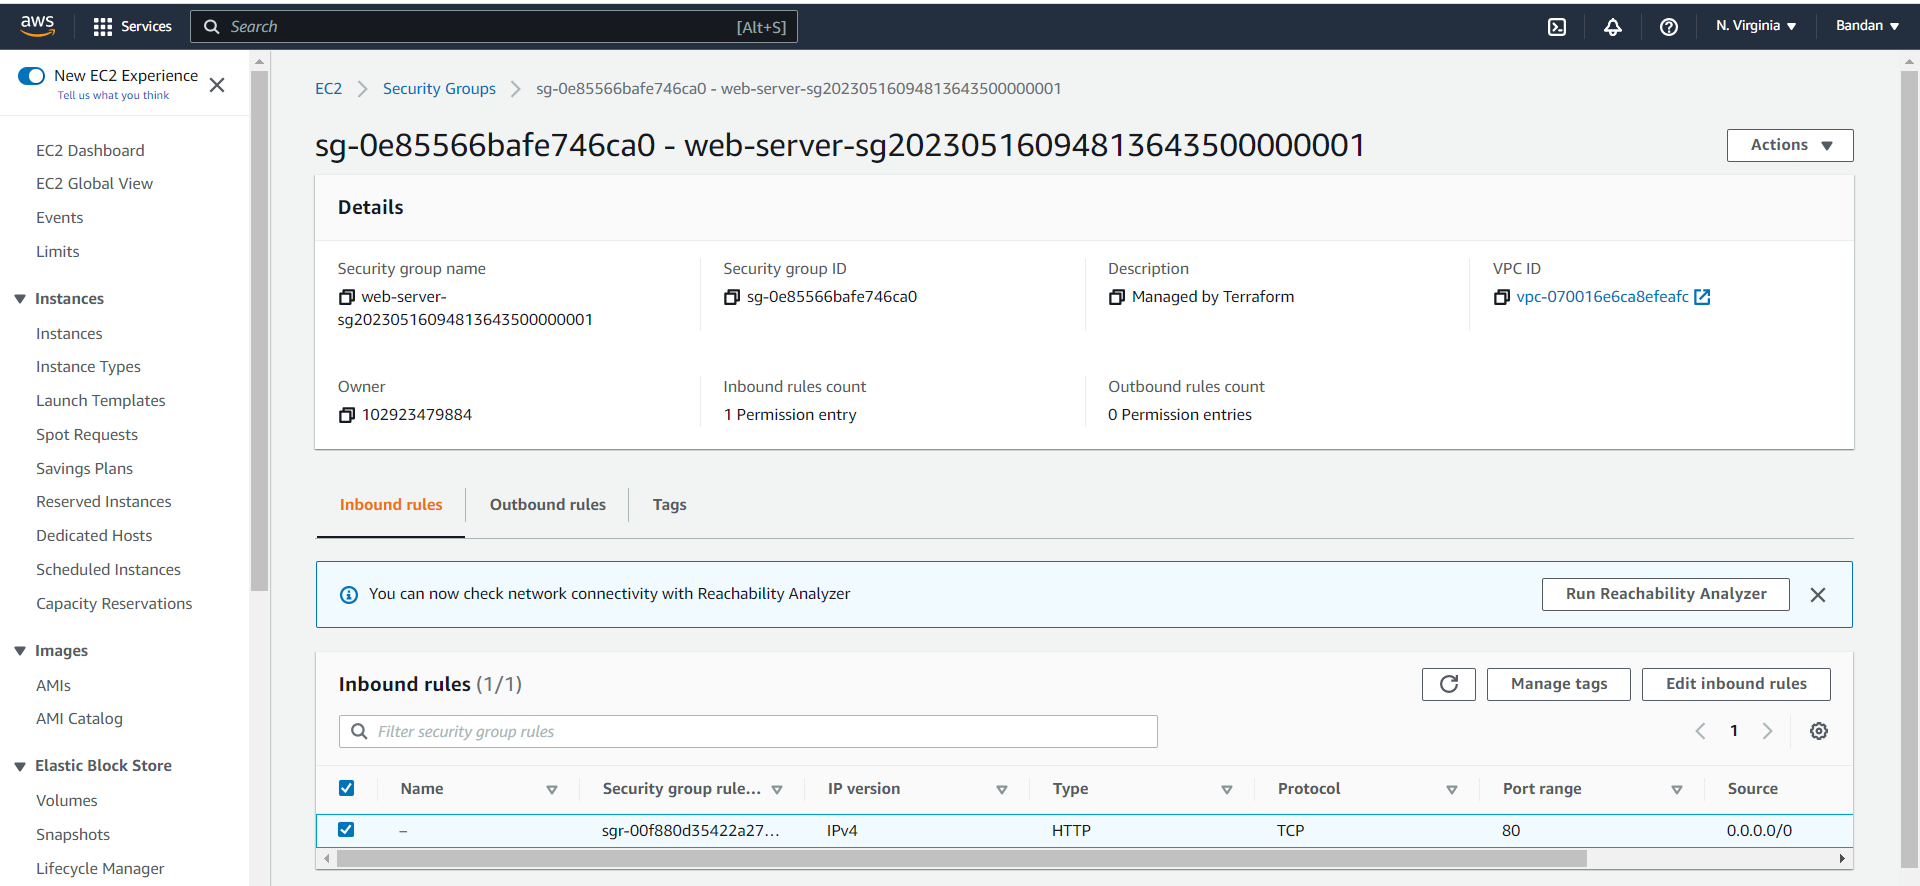
Verify the console for the created security group by terraform.
Task 2: Create an EC2 instance
Now you can create an EC2 instance with Terraform. Follow these steps:
In your main.tf file, add the following code to create an EC2 instance:
resource "aws_instance" "web_server" {
  ami           = "ami-0557a15b87f6559cf"
  instance_type = "t2.micro"
  key_name      = "my-key-pair"
  security_groups = [
    aws_security_group.web_server.name
  ]

  user_data = <<-EOF
              #!/bin/bash
              echo "<html><body><h1>Welcome to my website!</h1></body></html>" > index.html
              nohup python -m SimpleHTTPServer 80 &
              EOF
}
Note: Replace the ami and key_name values with your own. You can find a list of available AMIs in the AWS documentation.
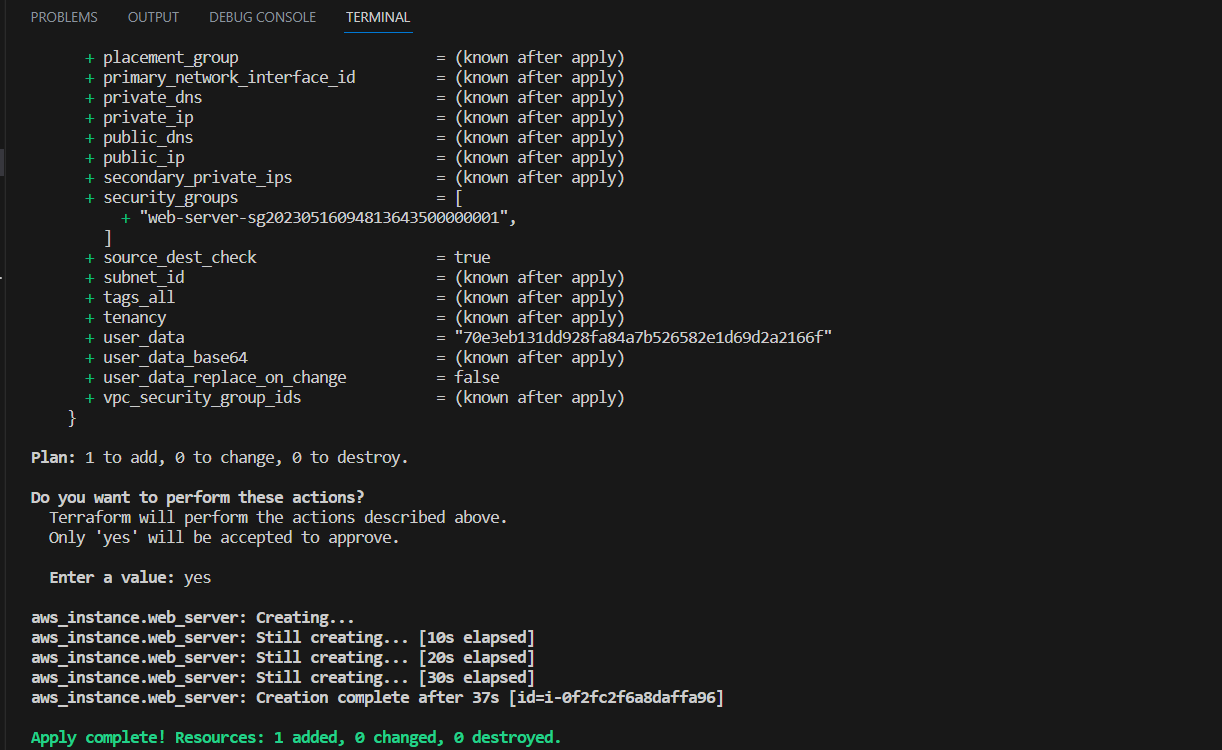
Run terraform apply to create the EC2 instance.
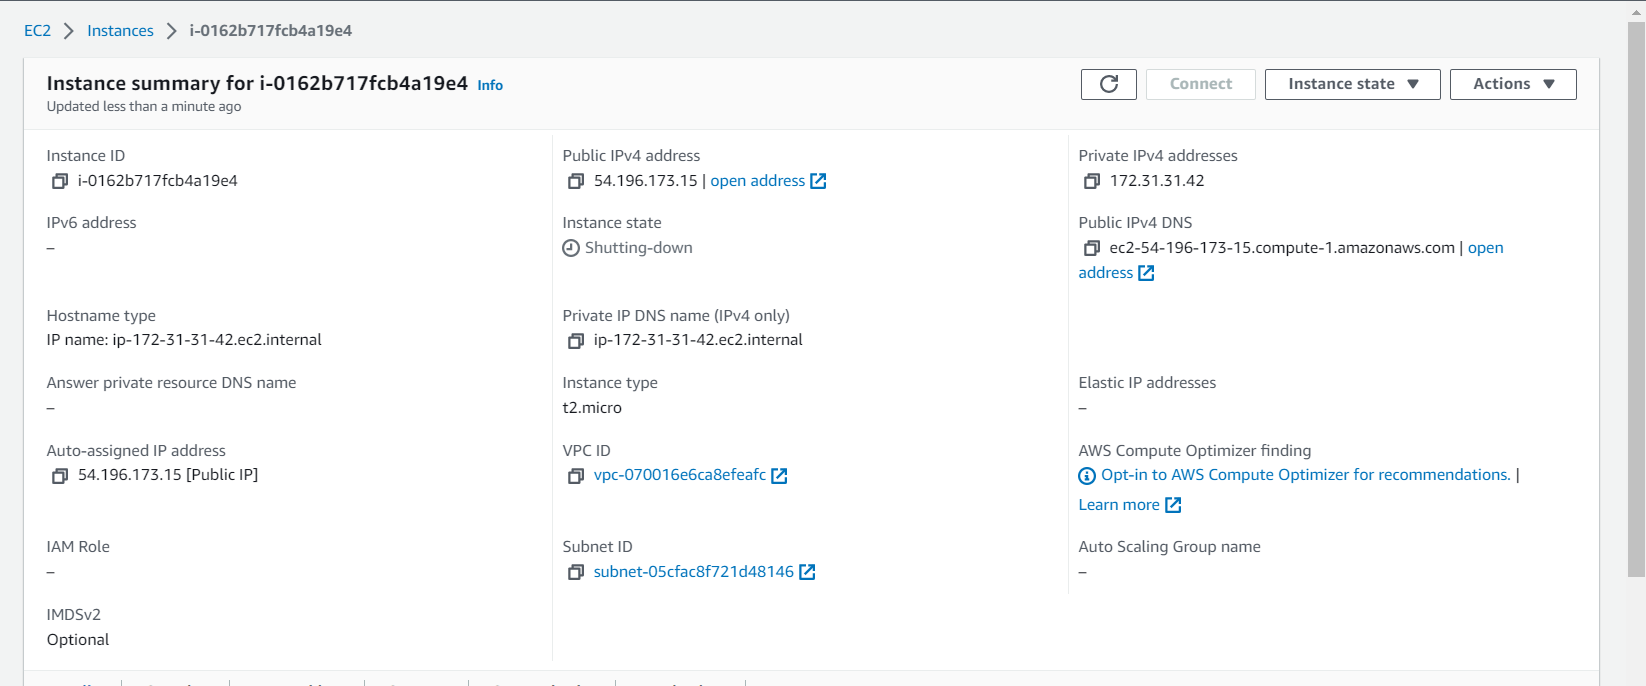
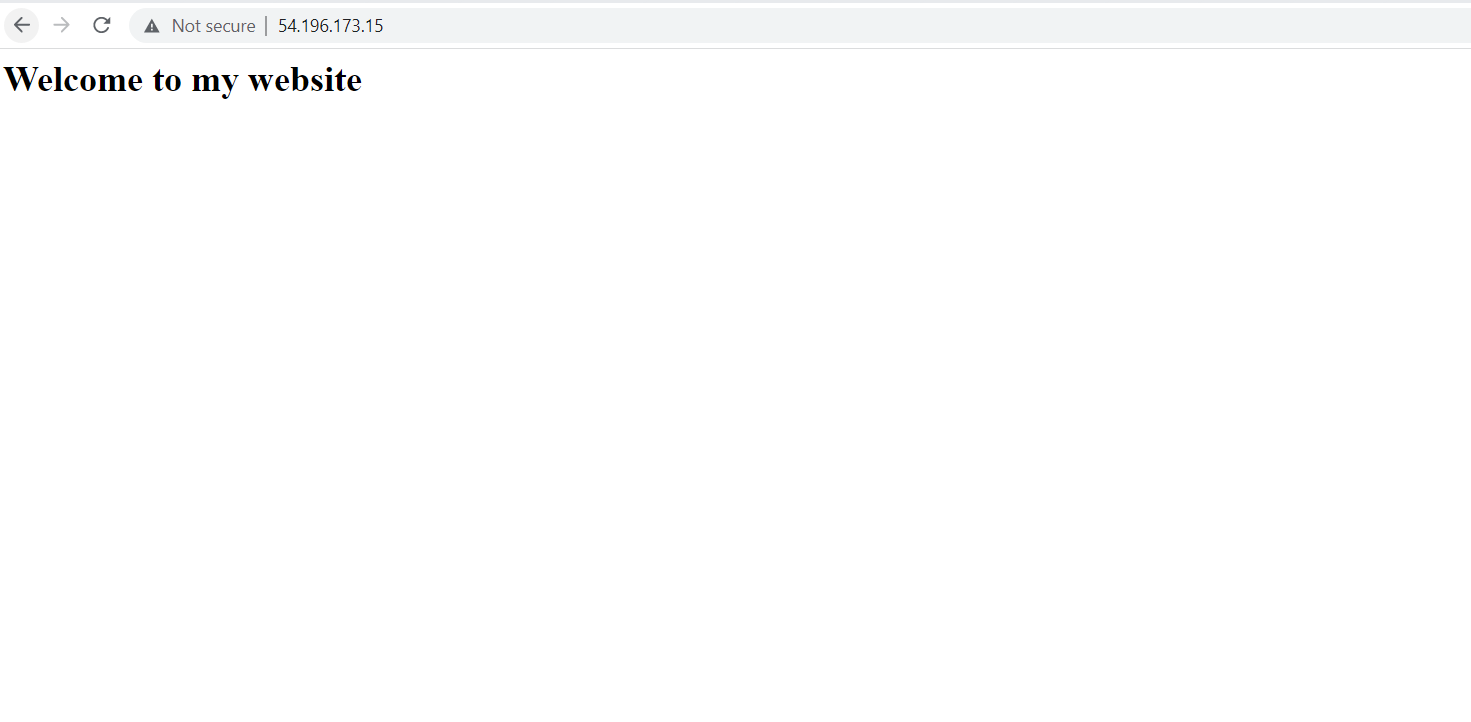
Task 3: Access your website
Now that your EC2 instance is up and running, you can access the website you just hosted on it. Follow these steps:
Thanks for reading my article. Have a nice day.
You can follow me on LinkedIn for my daily updates:- linkedin.com/in/bandan-kumar-sahoo-131412203


