DevOps(Day-47): Test Knowledge on AWS💻 📈

I like to explore the technology in DevOps area where I write blog about my learning each day on the tools that is mostly used in Industries for DevOps practices. You can go through my blogs and reach me out in LinkedIn for any suggestions.
Task-1: Monitoring a WebApp through AWS CloudWatch
Launch an EC2 instance using the AWS Management Console and connect to it using SSH.
Create an EC2 instance as we have seen in our previous blogs.
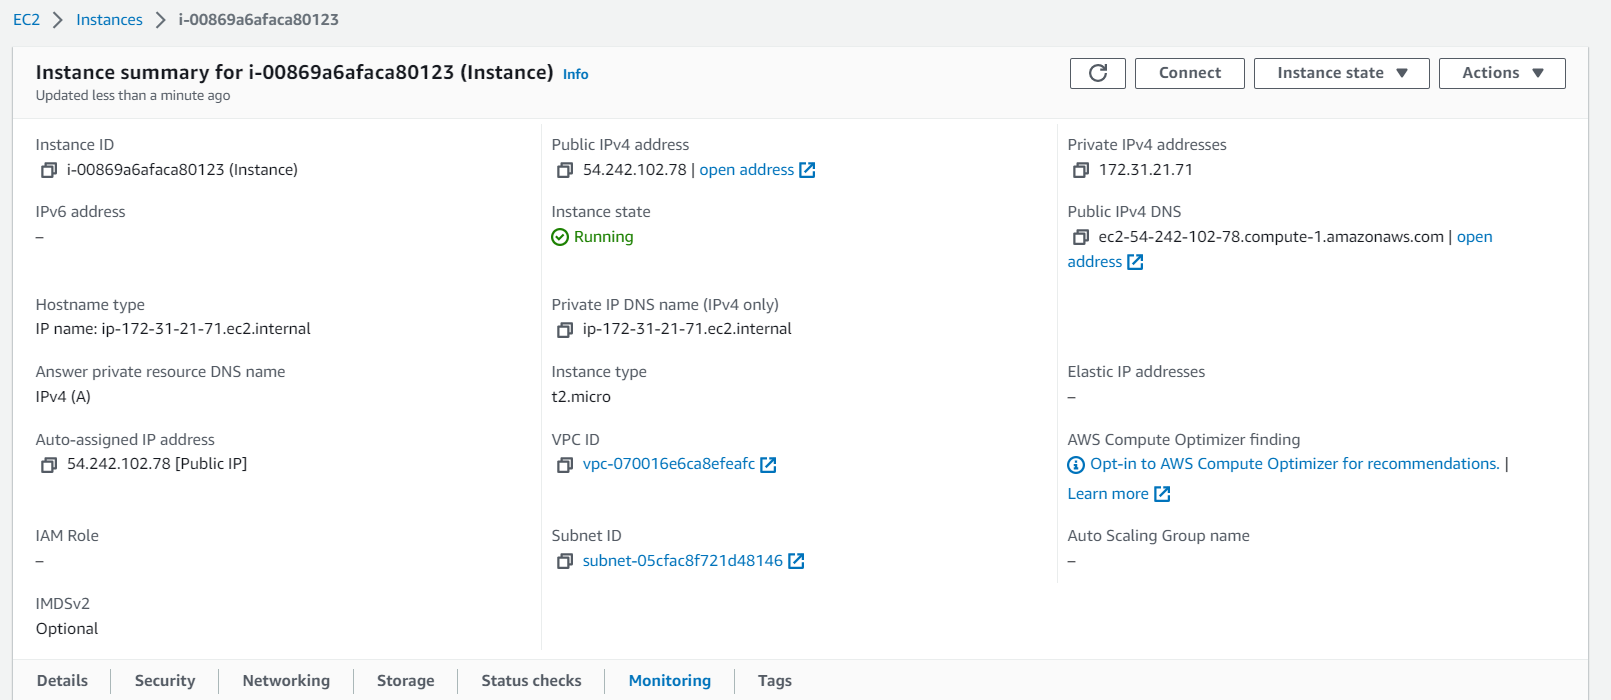
Login to the EC2 instance via SSH through Command Prompt.

Install a web server on the EC2 instance and deploy a simple web application.
Install the Apache web server on the EC2 instance.
sudo apt install apache2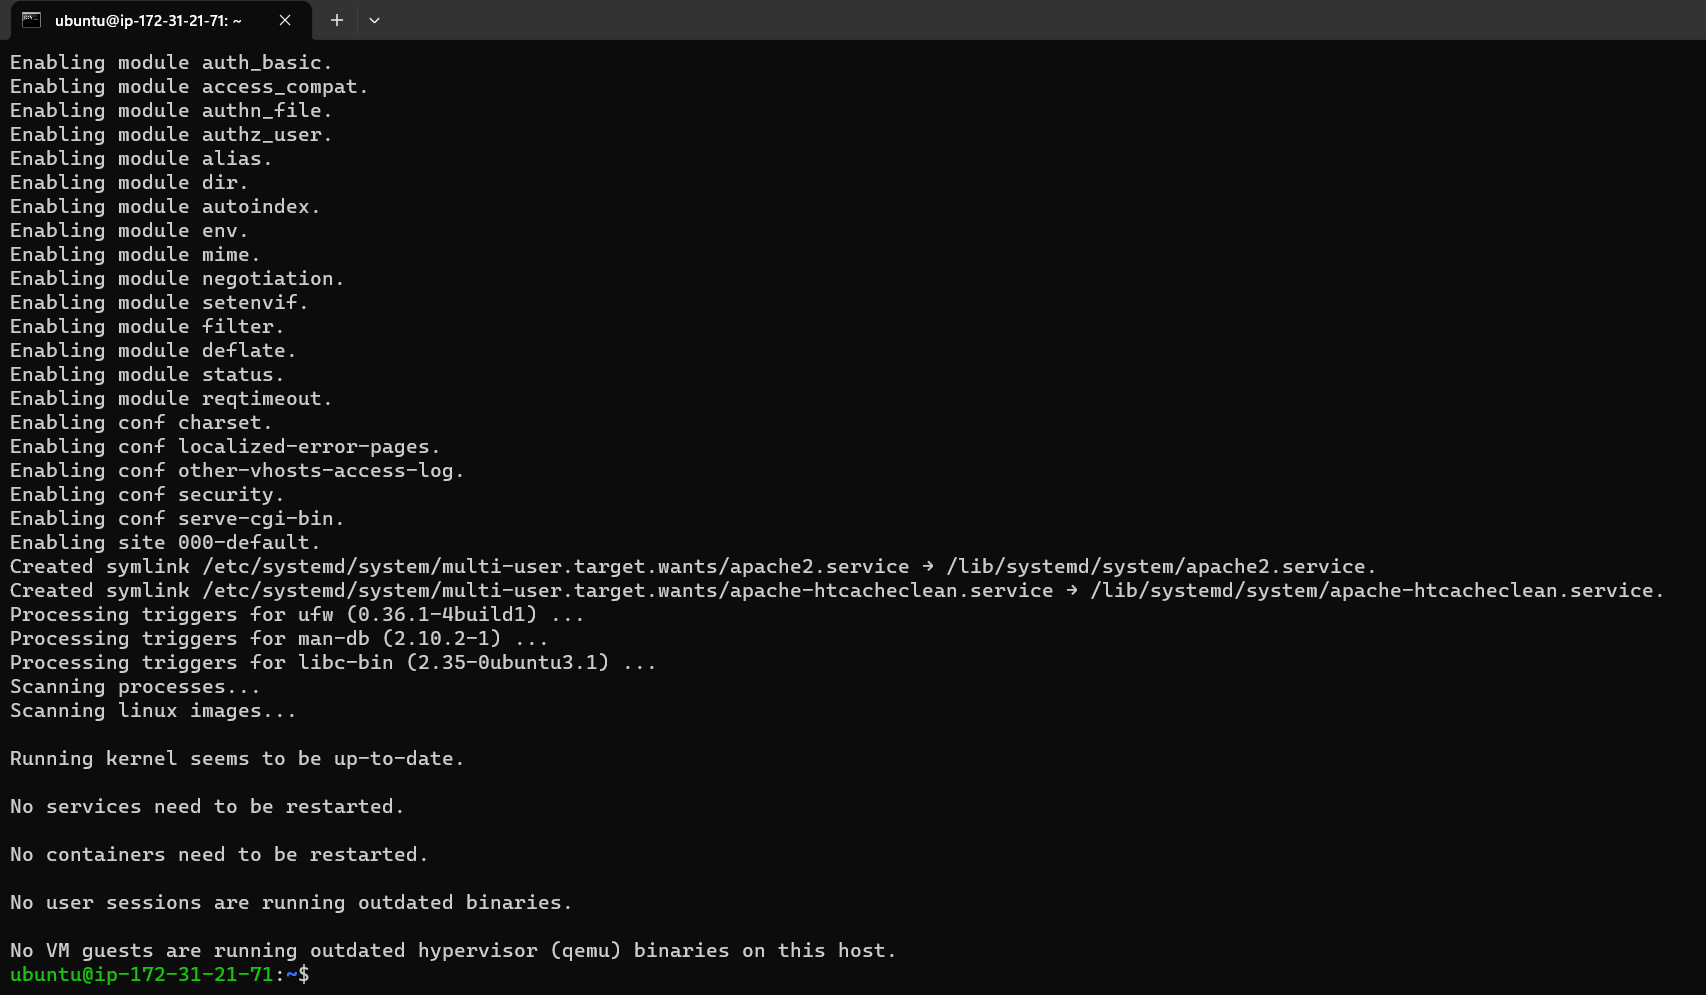

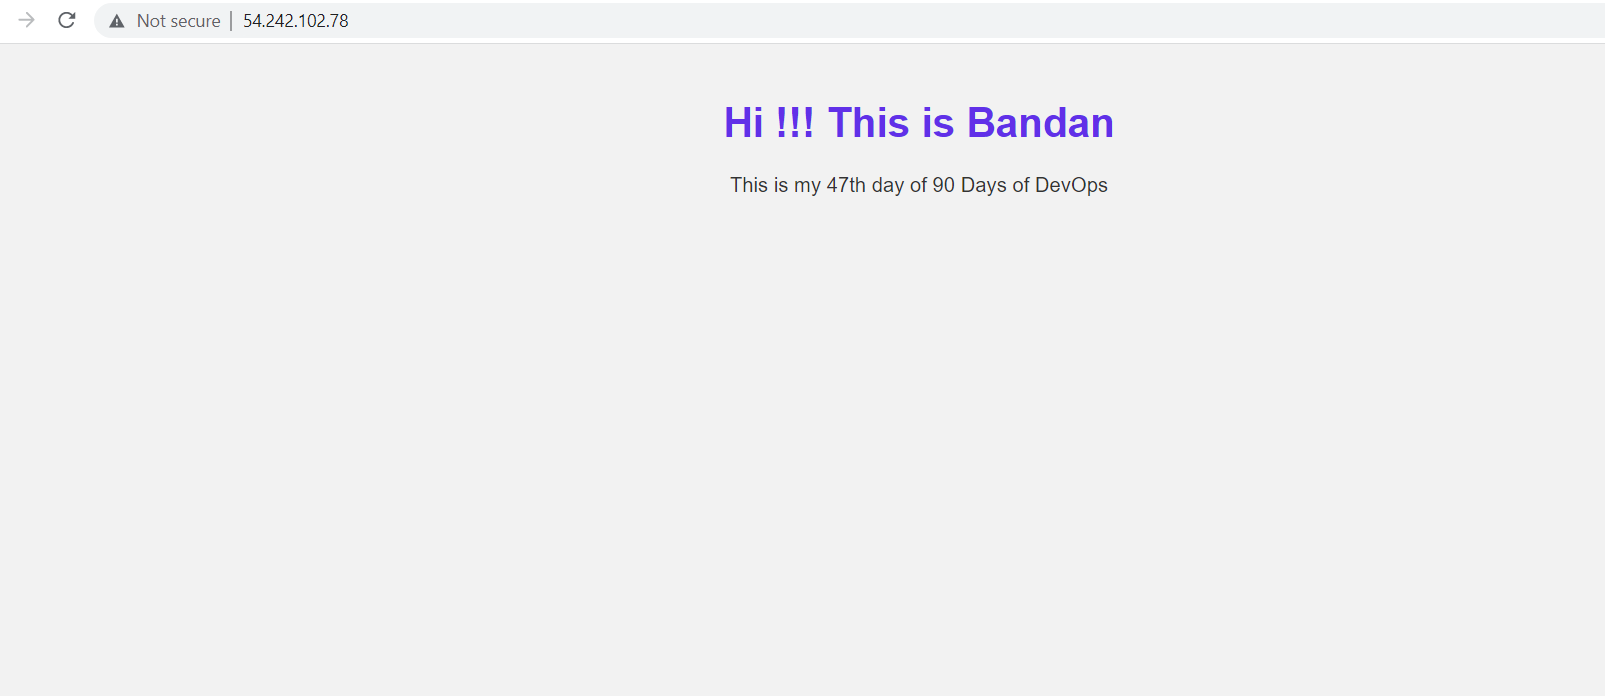
Deploy a simple website on the Apache web server.

Now the Site is up and running.
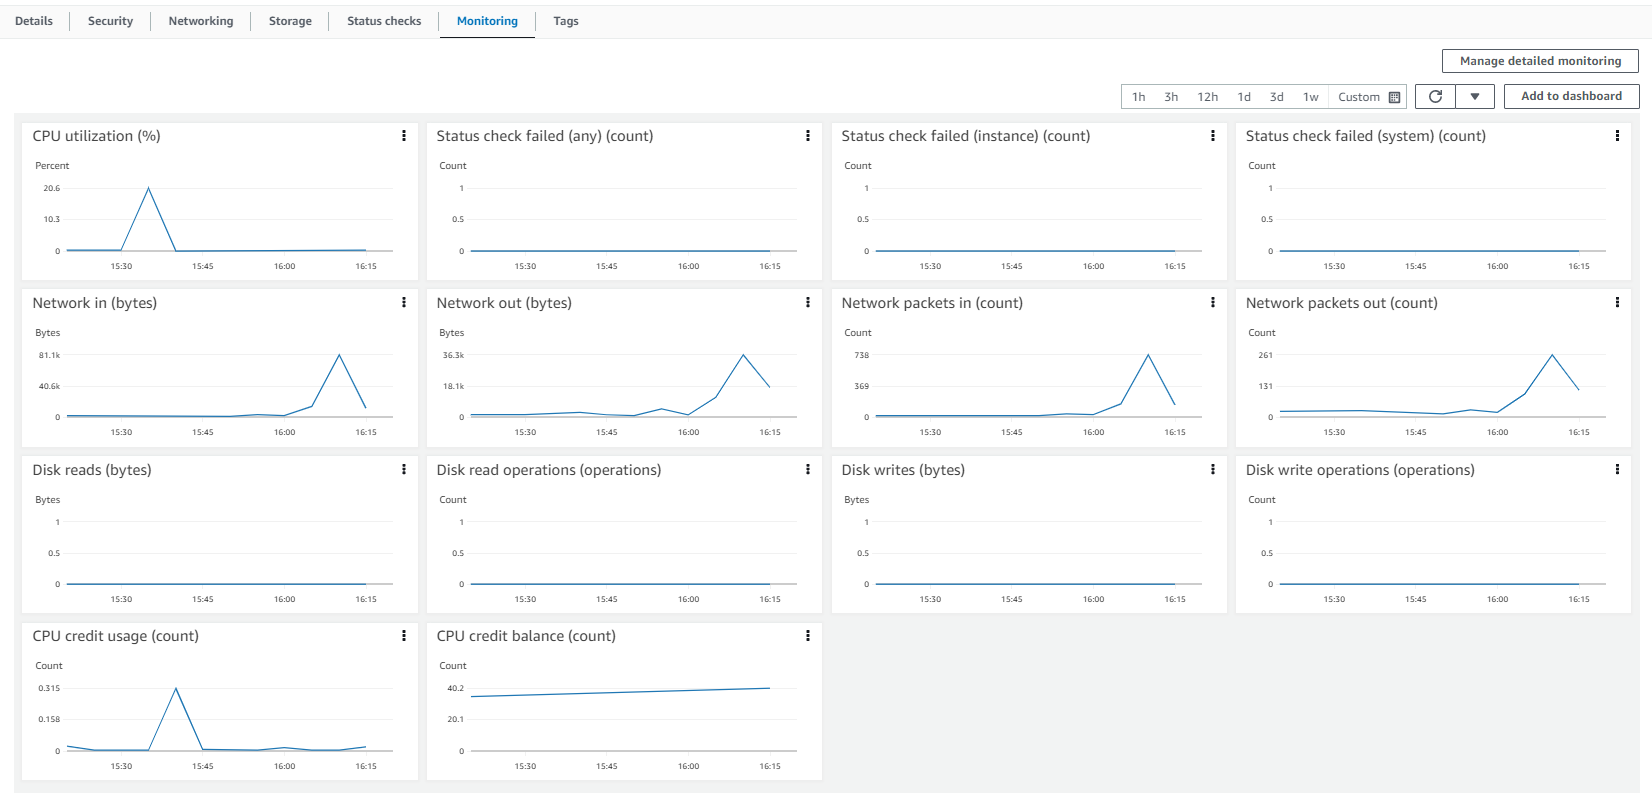
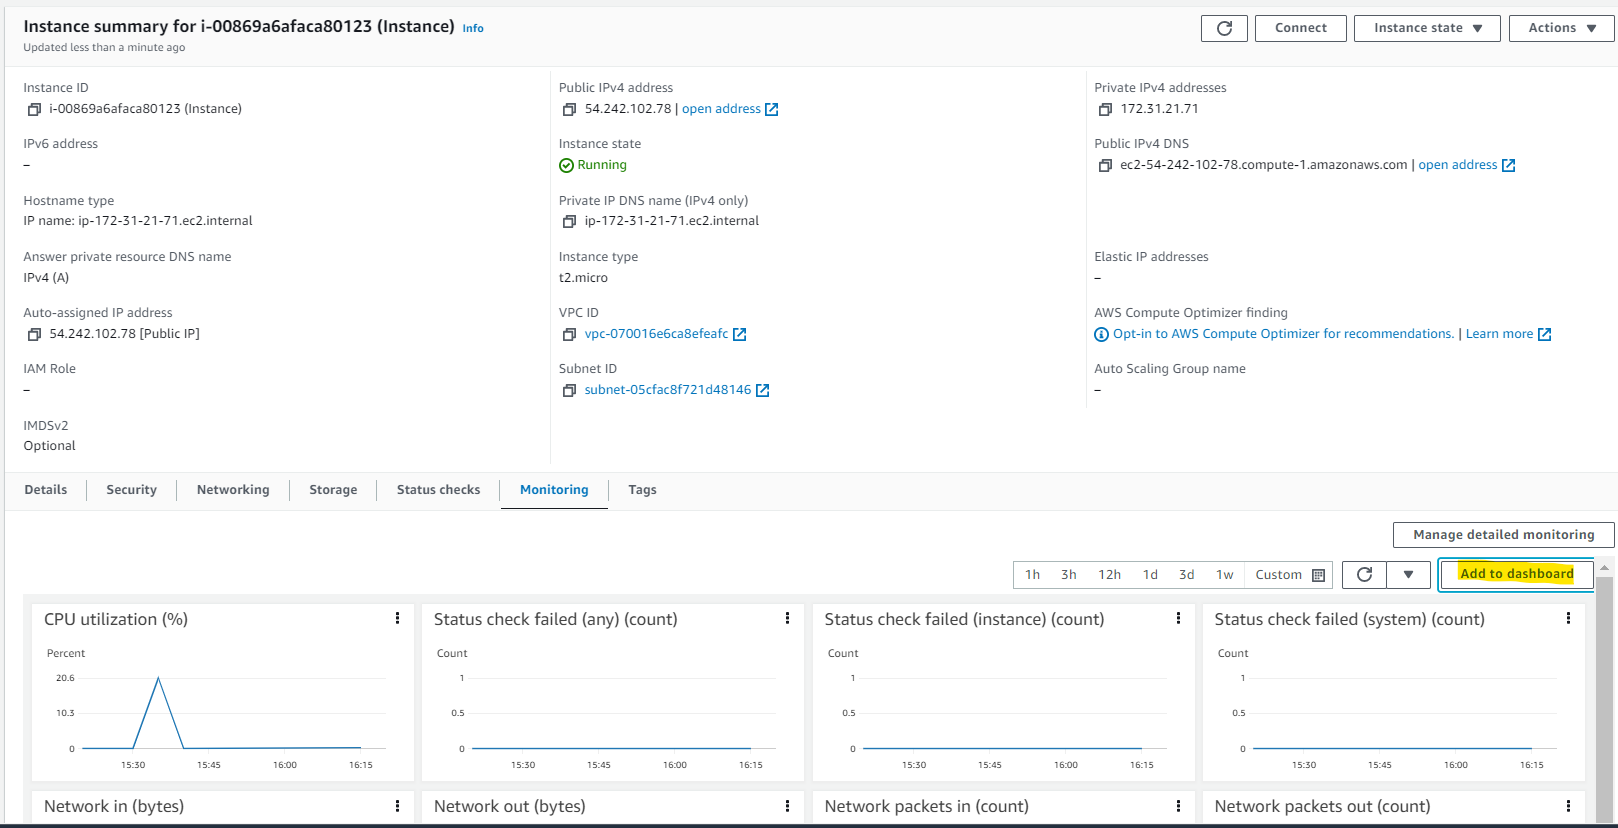
Monitor the EC2 instance using Amazon CloudWatch and troubleshoot any issues that arise.
You can navigate to the monitoring section in the EC2 instance to view the usage of resources in EC2 by a Graphical view.
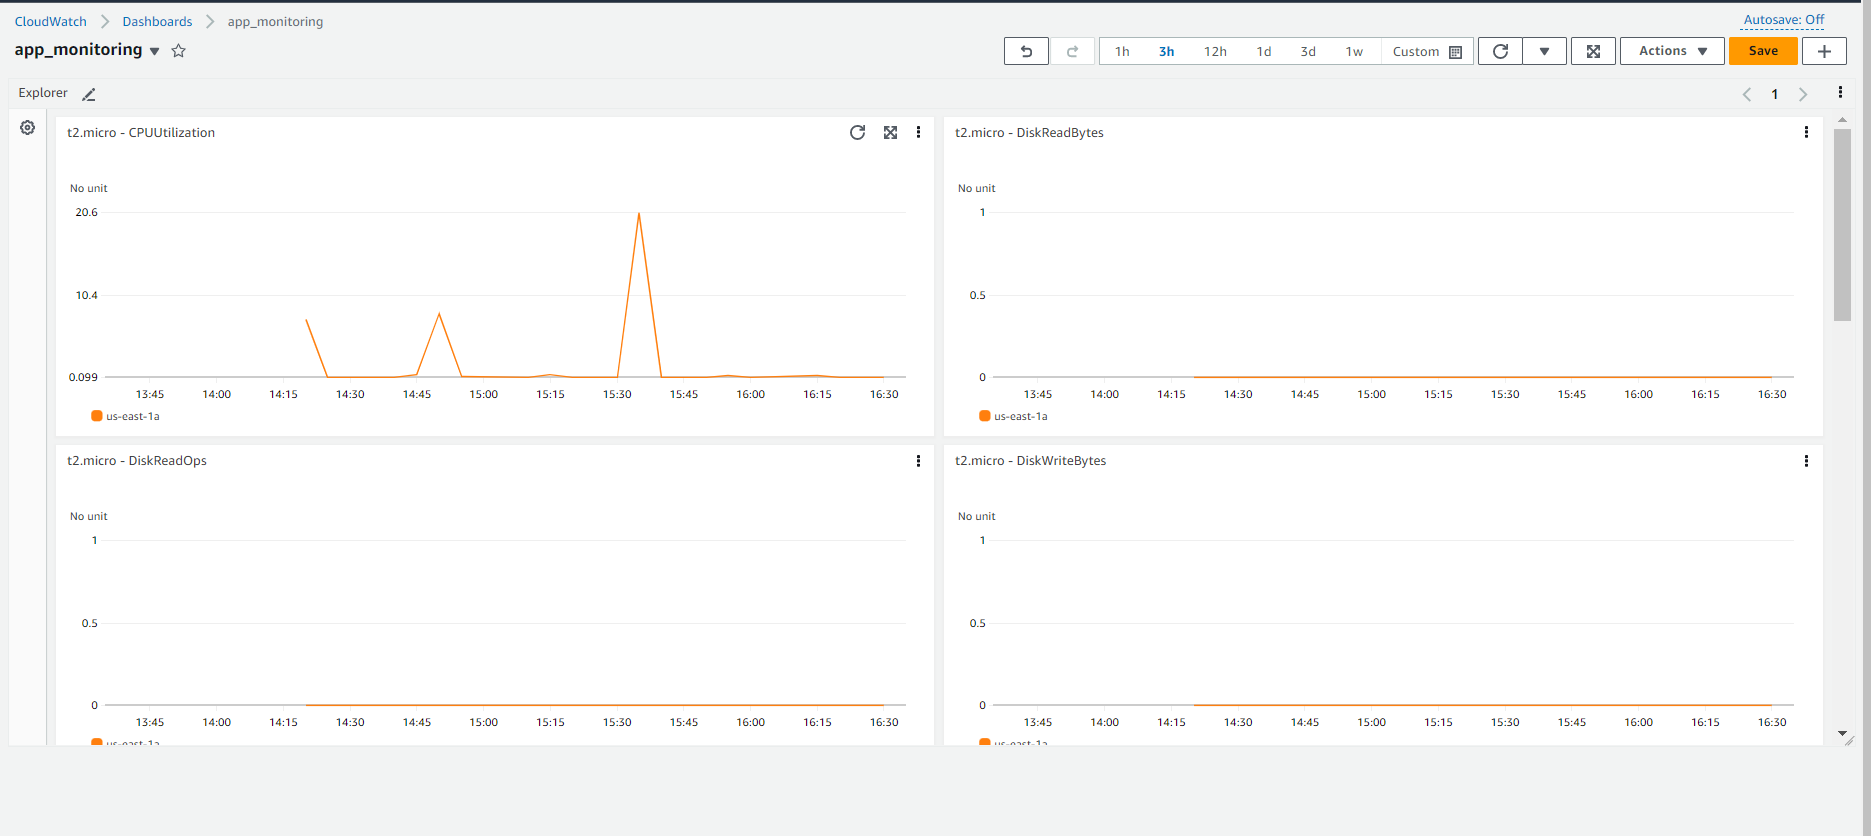
Create a dashboard with the choice of resource utilization you want to view.
This will navigate to CloudWatch to create a dashboard.
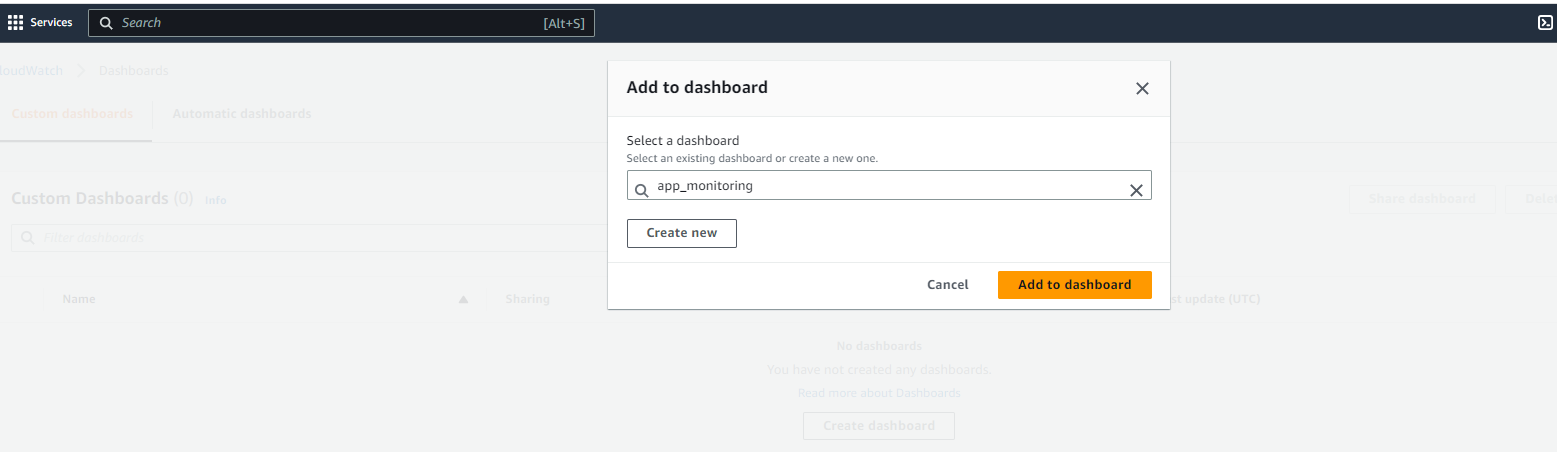
You can select the appropriate details to view the usage.
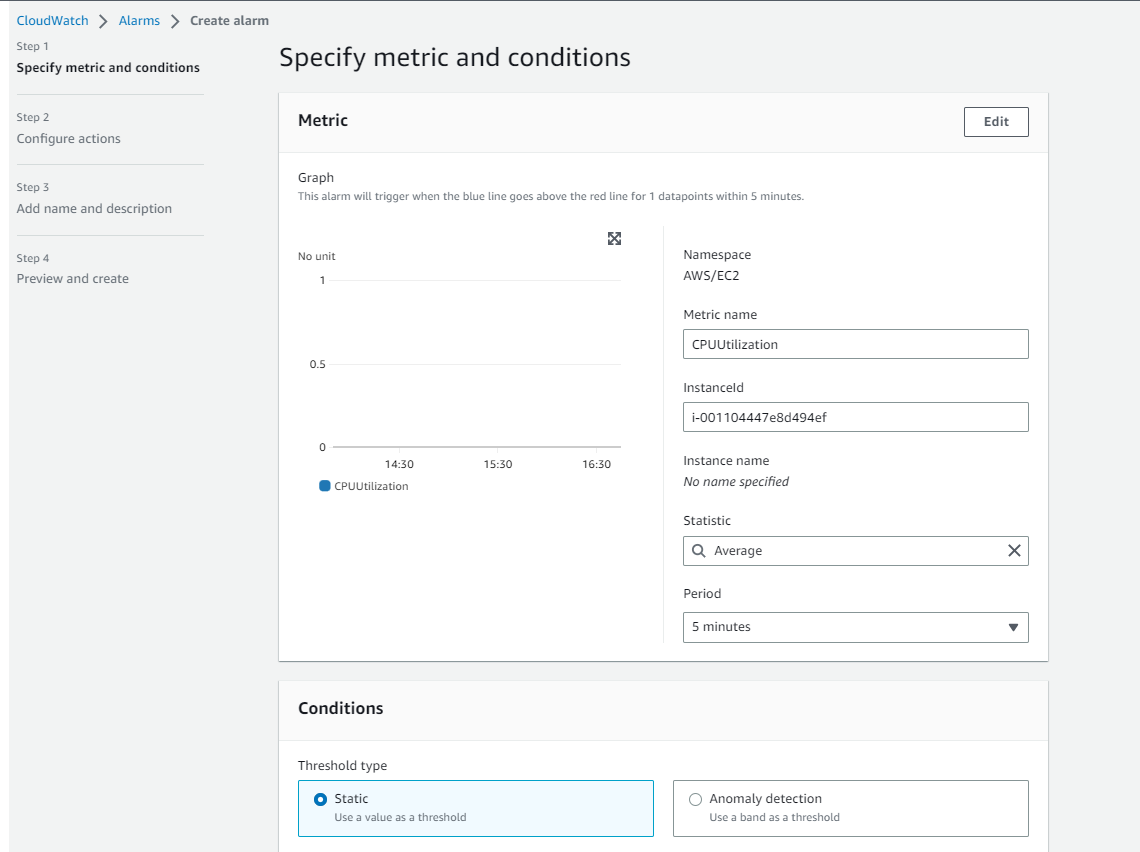
We can also create a Cloud Watch alarm that will trigger in case of over utilization.
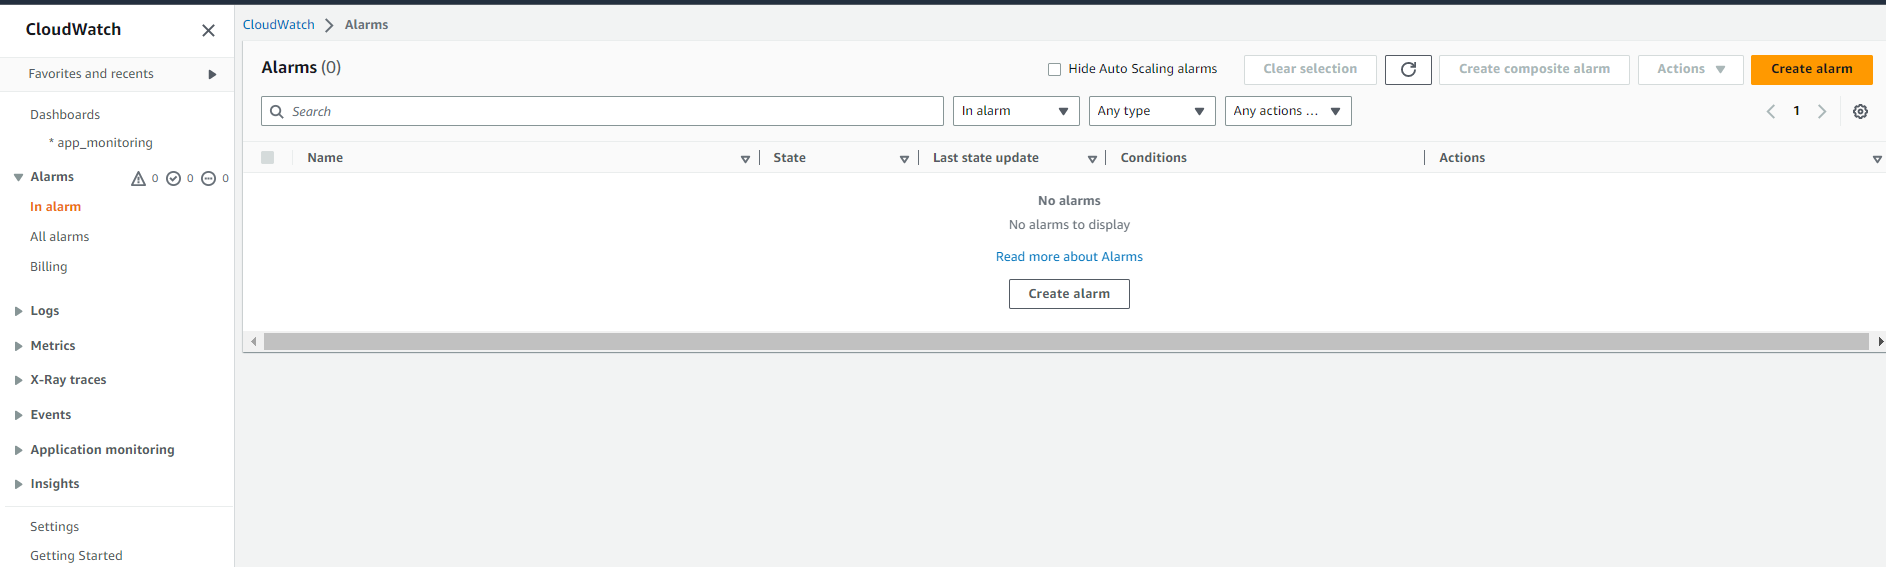
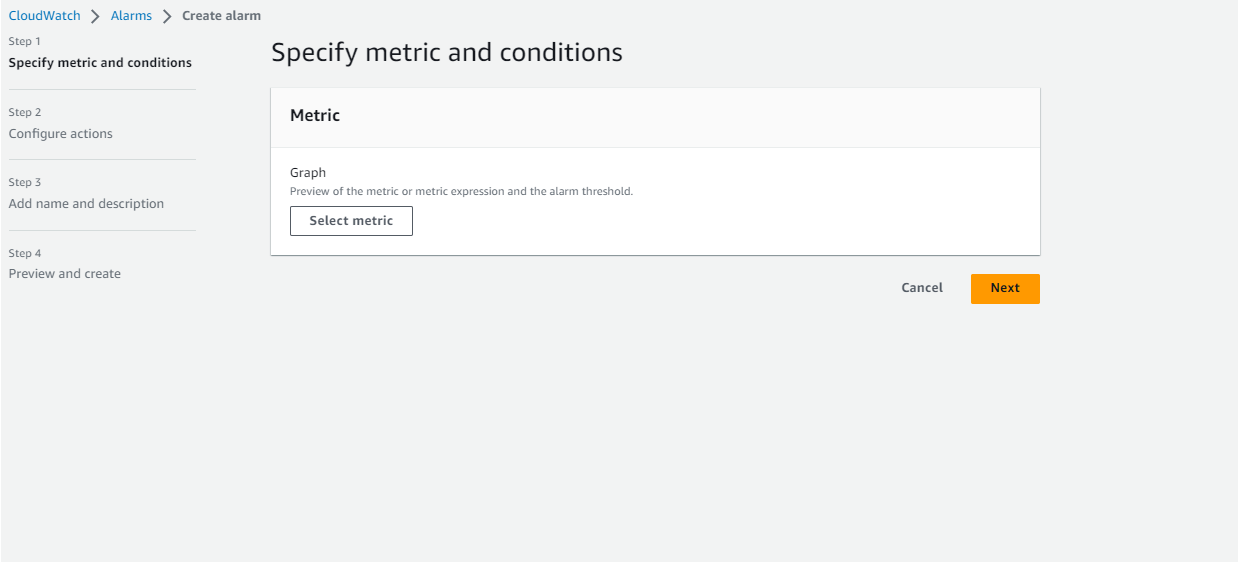
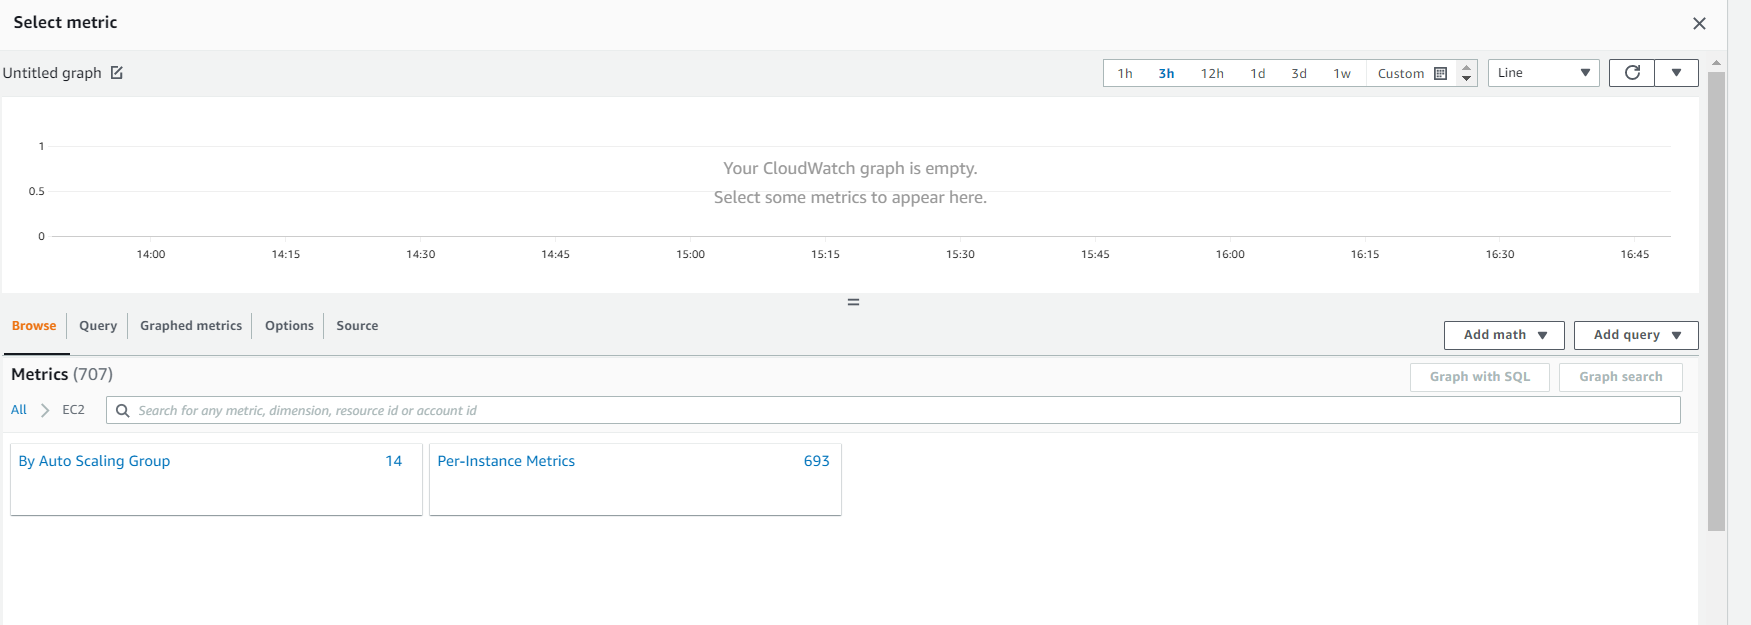
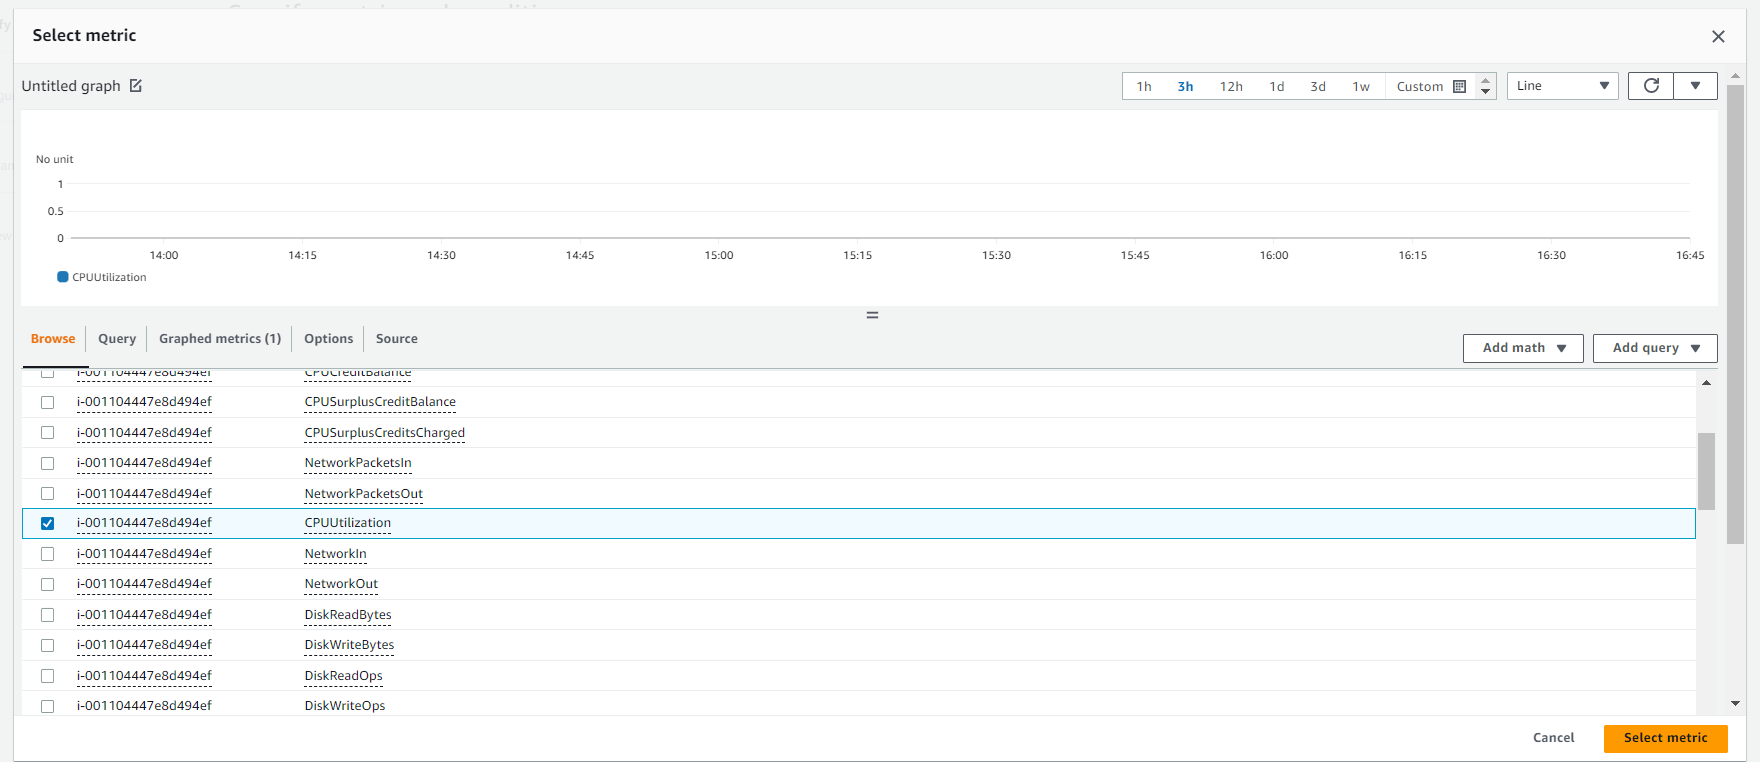
Select the Pre-instance metrics to set the resource utilization in EC2.
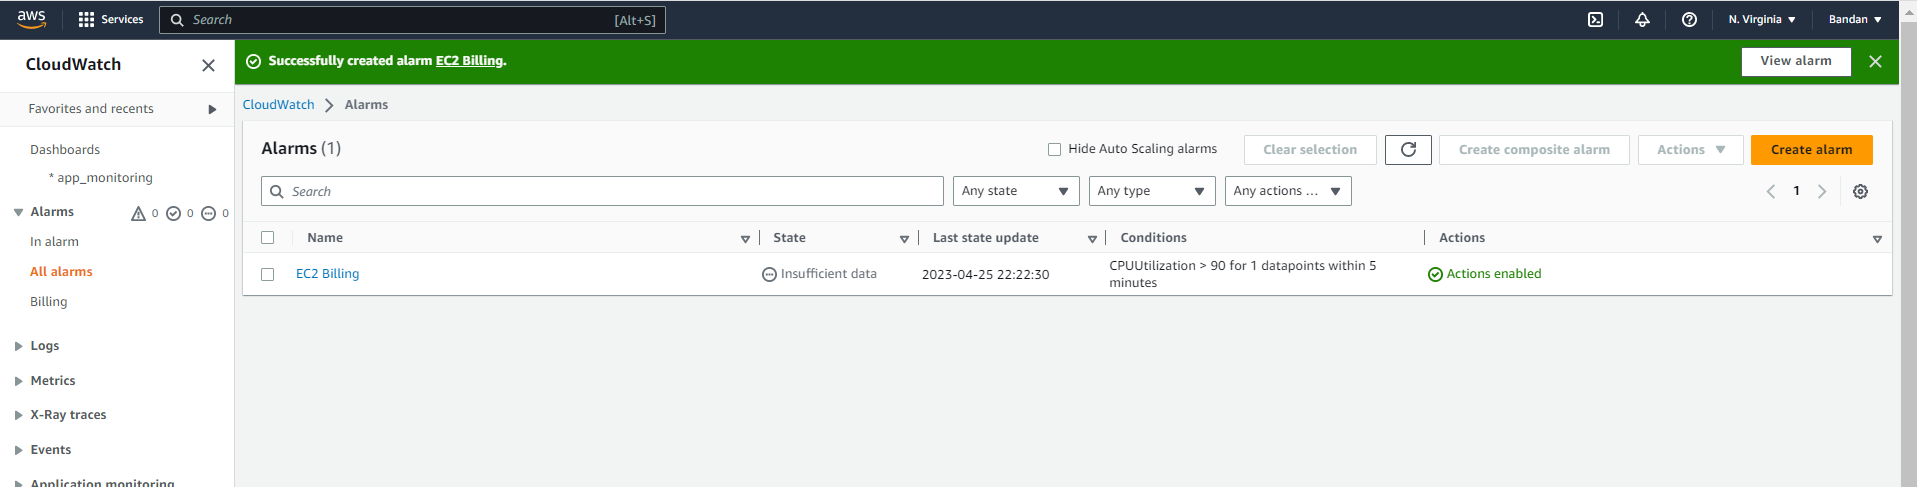
Create the Alarm that will come as E-mail alert.
Now, the Alarm is created and alerts will be triggered in case of over utilization of resources.
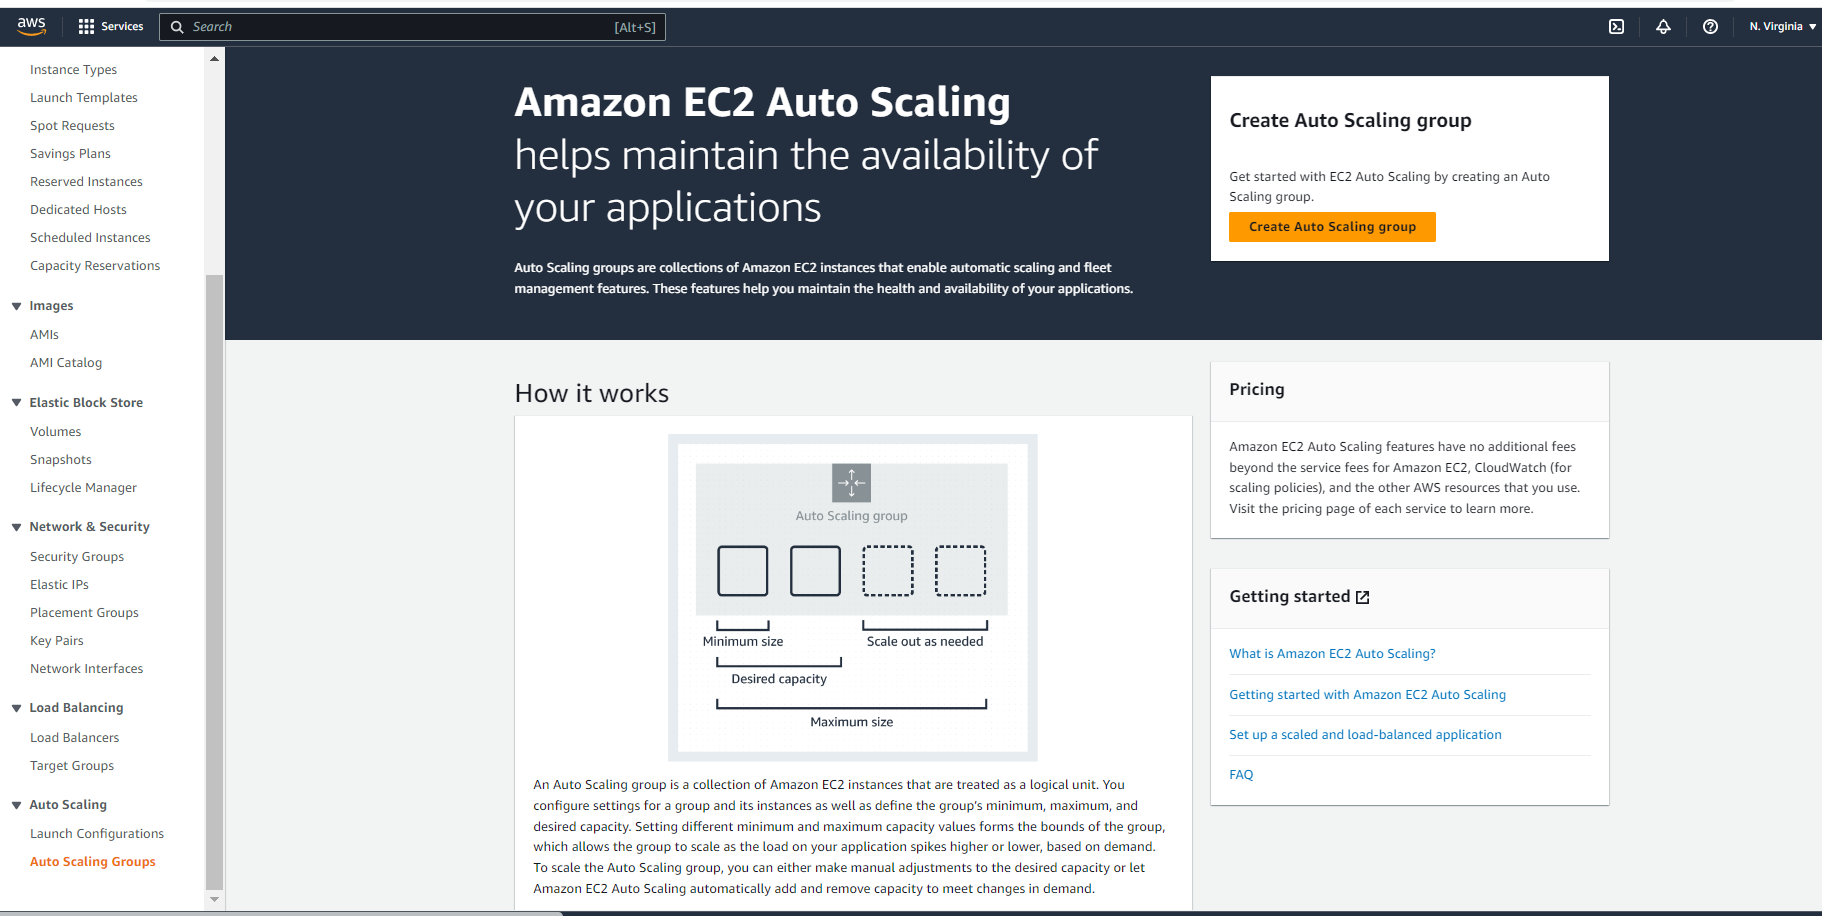
Task-2: Monitoring an Auto Scaling group through AWS CloudWatch
Create an Auto Scaling group using the AWS Management Console and configure it to launch EC2 instances in response to changes in demand.
Navigate to Autoscaling group of EC2.
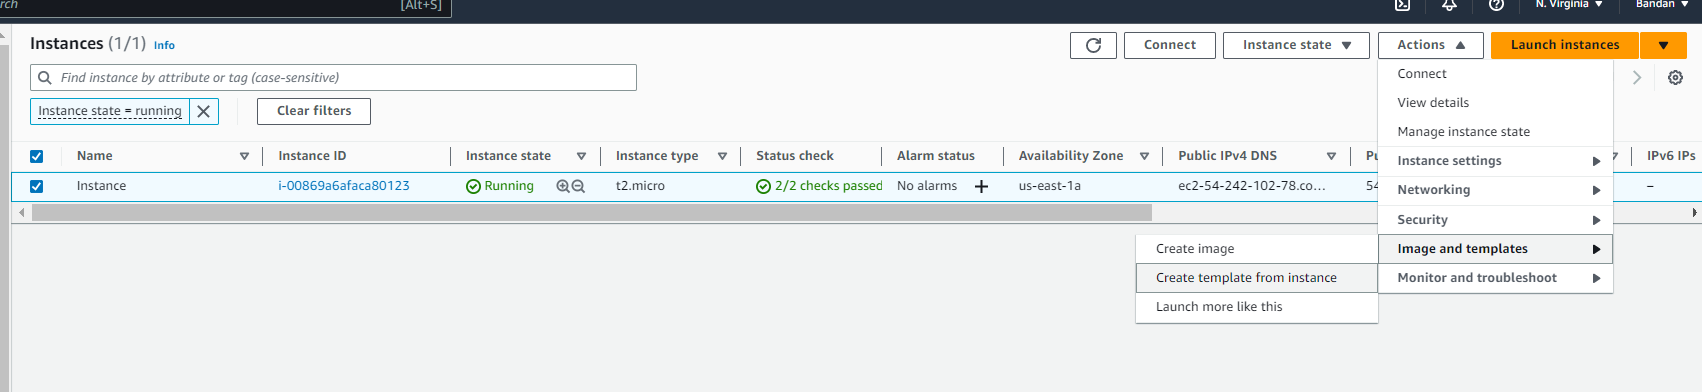
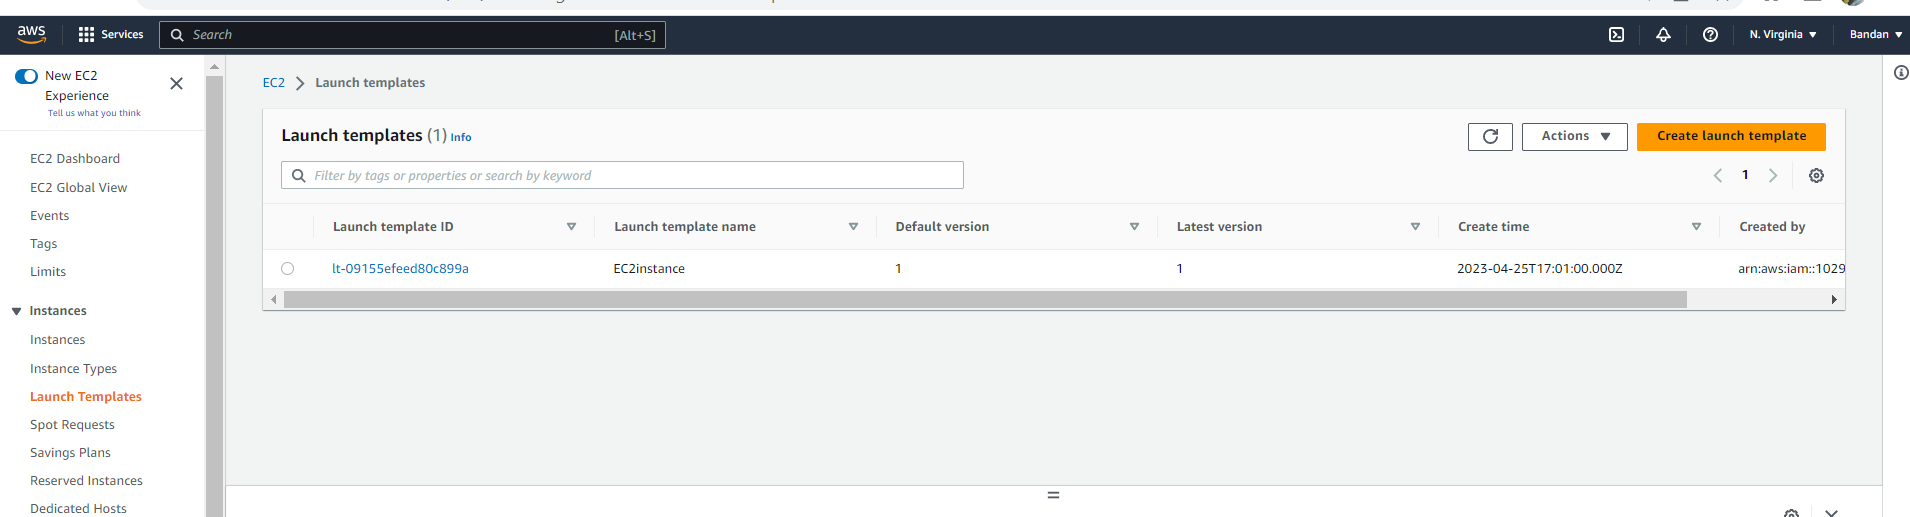
A template of EC2 is required to create an auto-scaling group.

Navigate to the created instance and create a template.
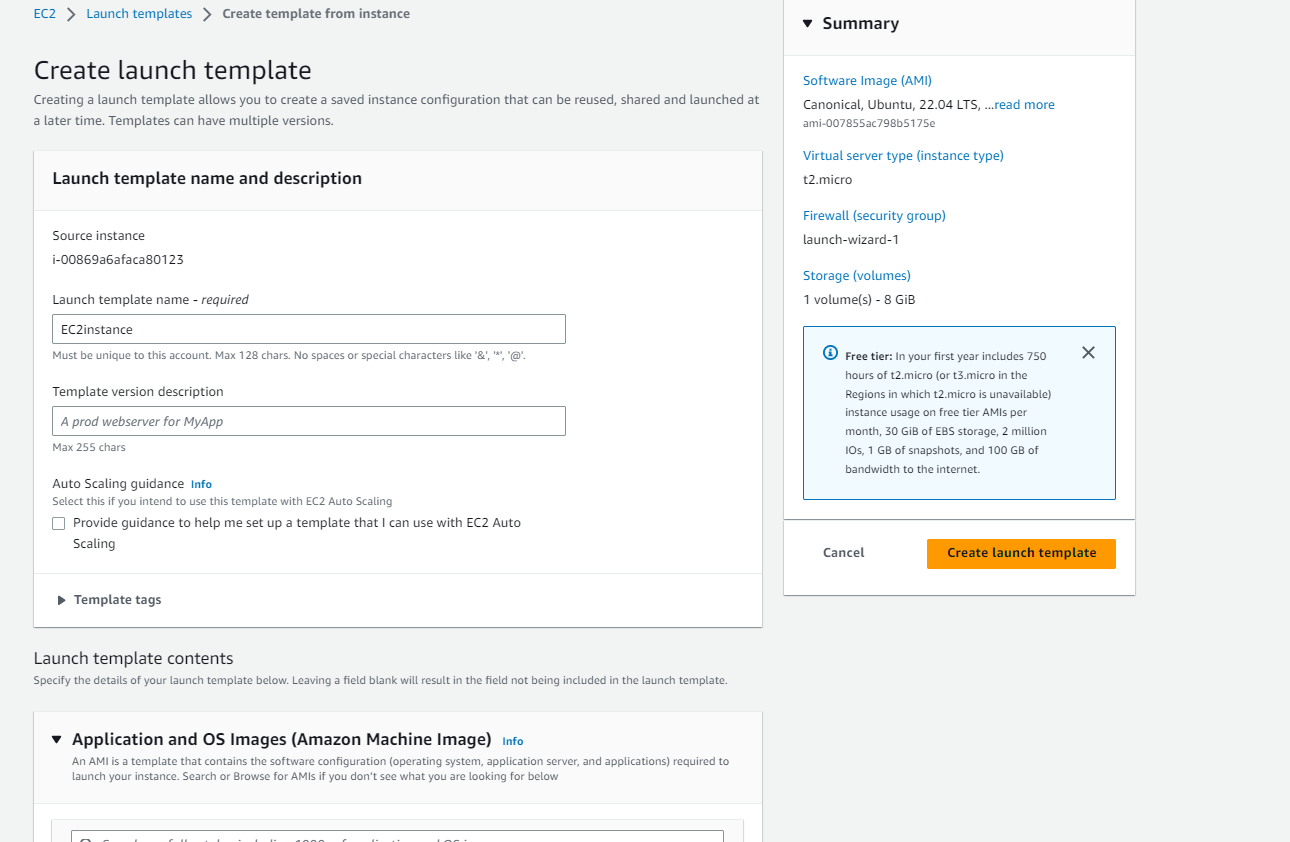
Select the appropriate configurations you want to change and create launch template.
Now, navigate to the auto scaling group to provide the information about the launched template.
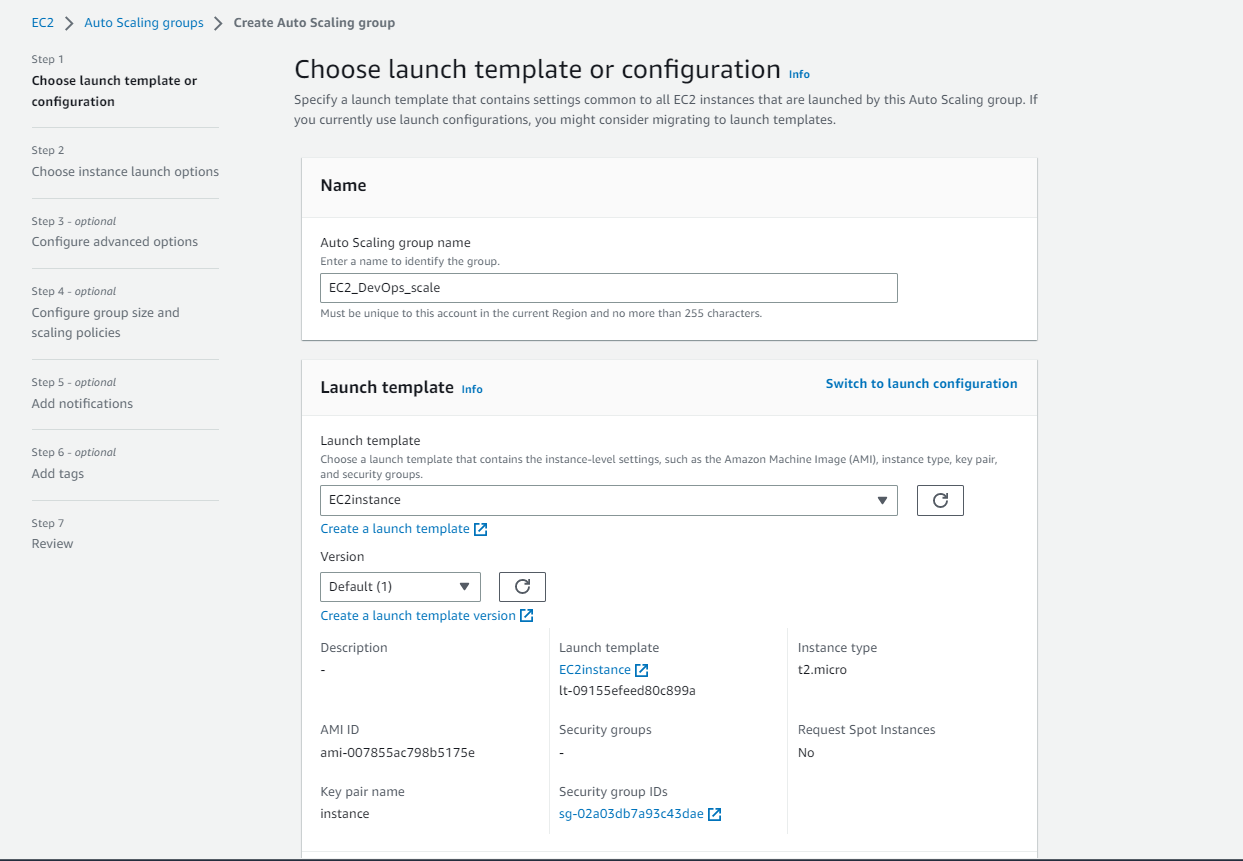
Choose the same VPC and Subnet where the EC2 lies.
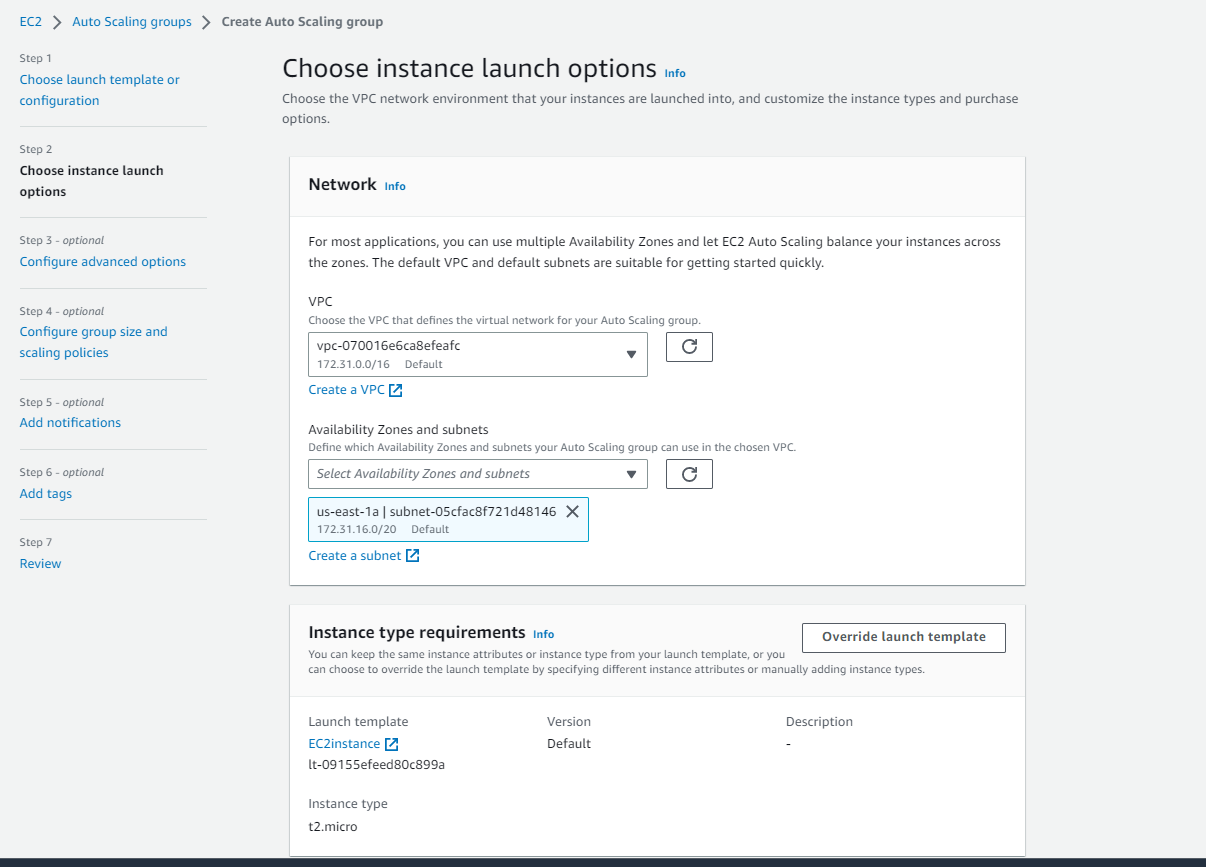
Now create the auto-scaling group.
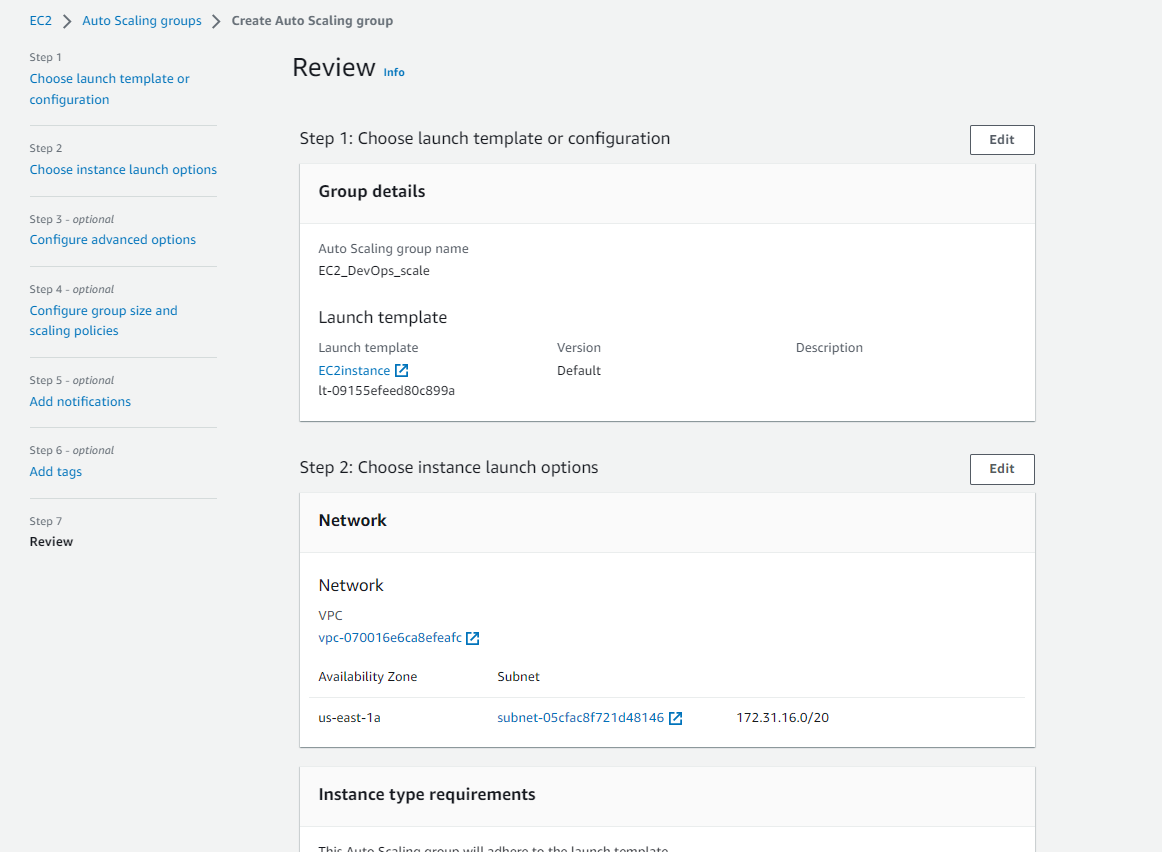
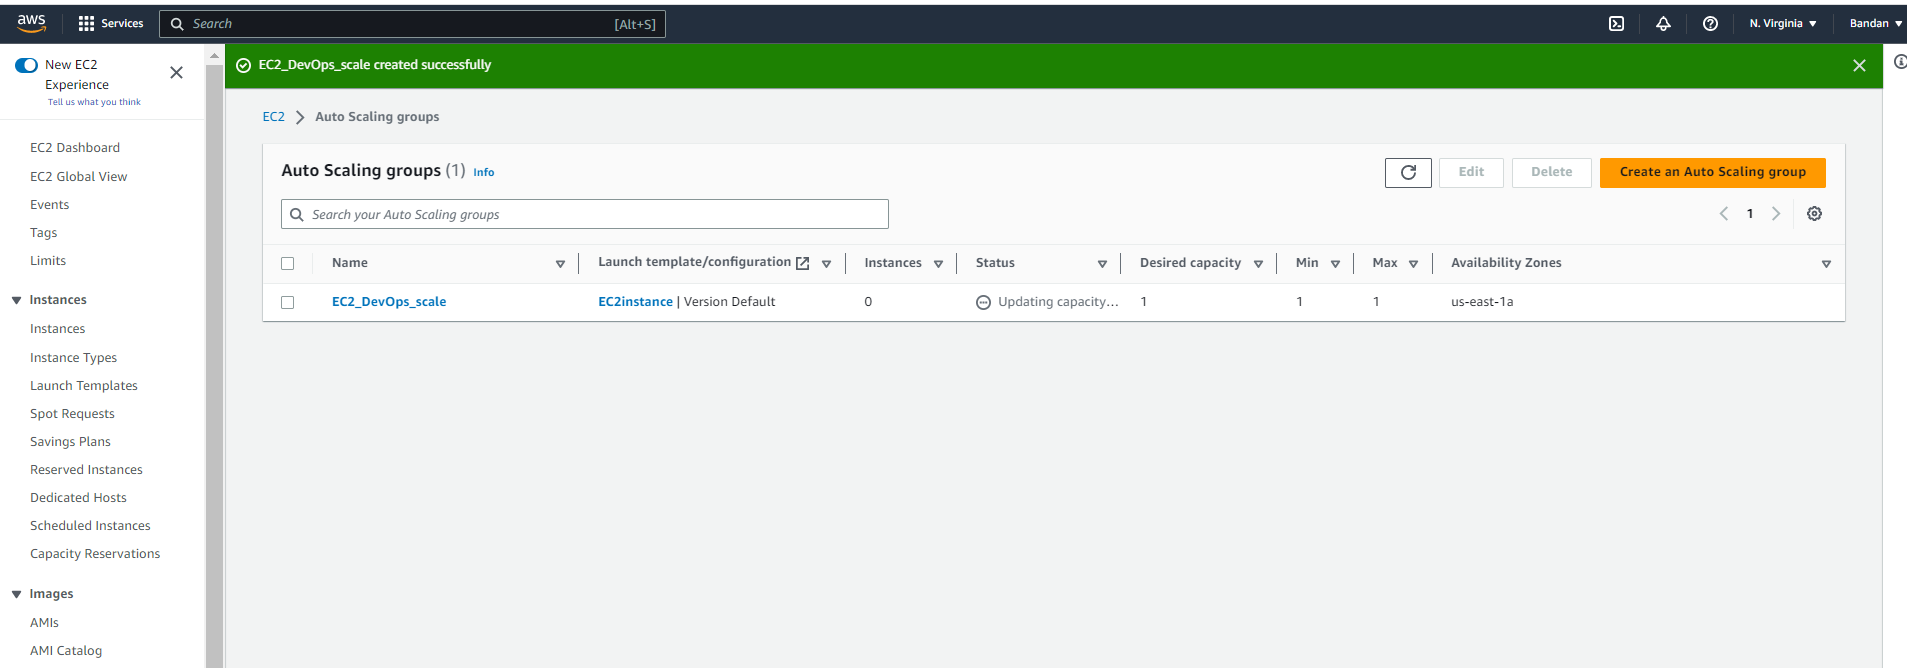
The Auto-scaling group is now created.
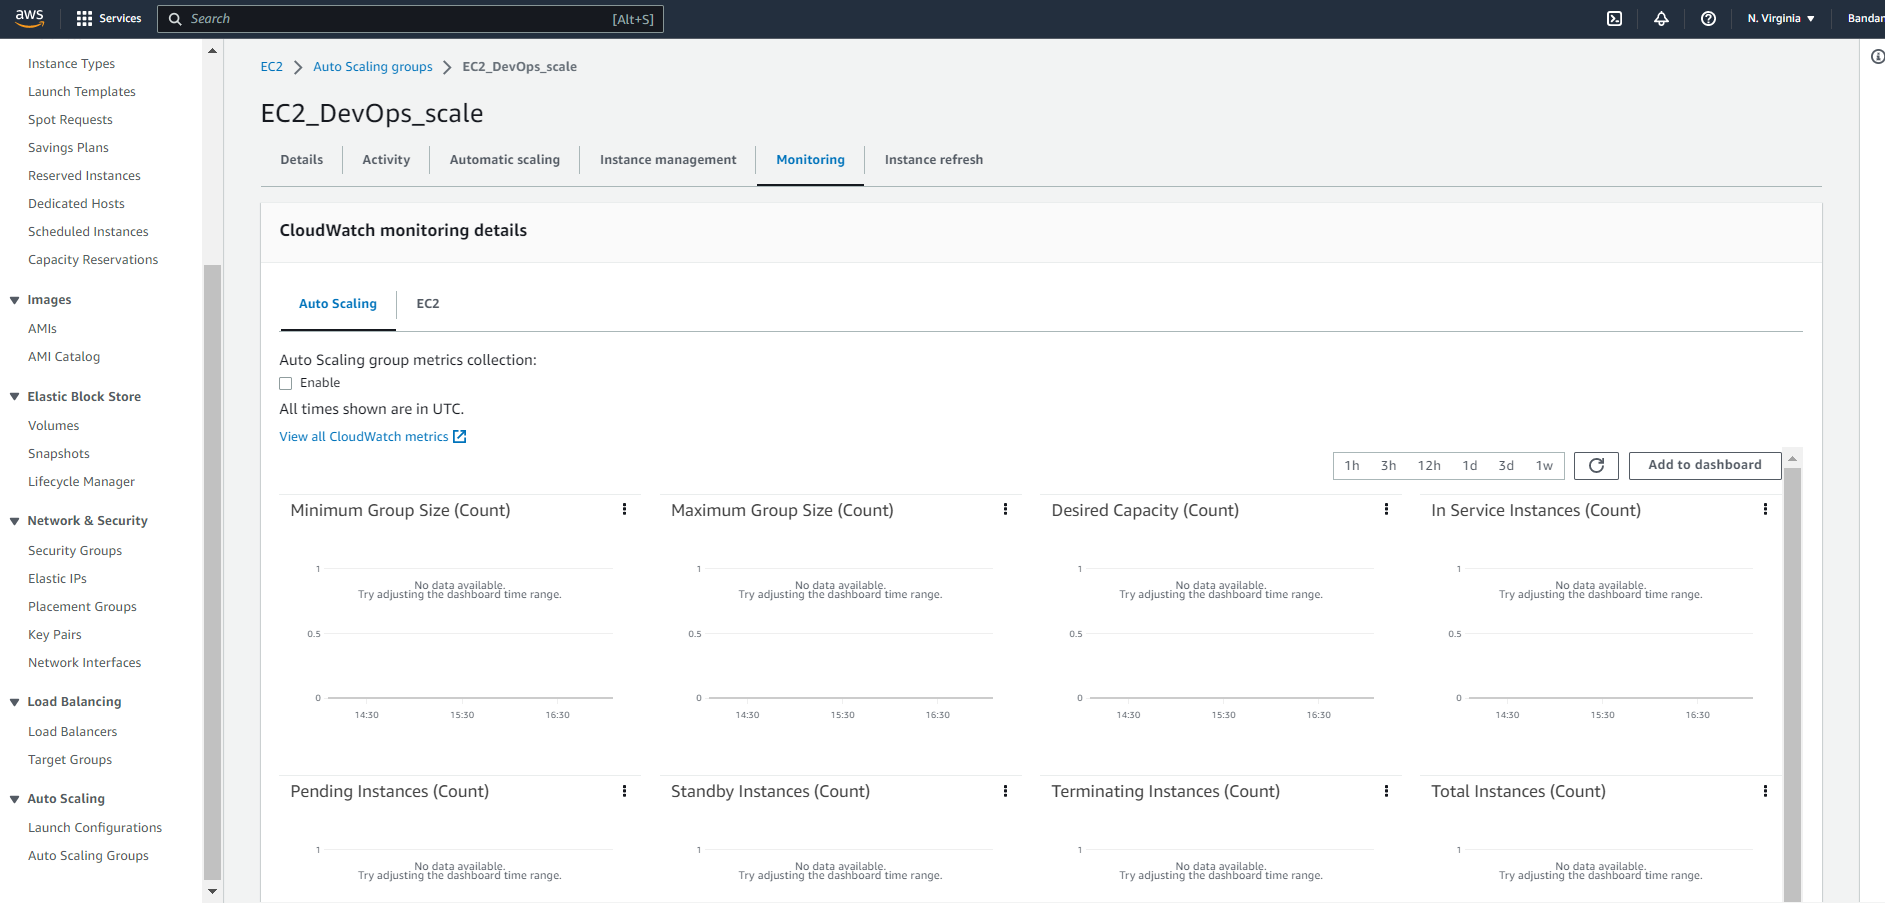
Use Amazon CloudWatch to monitor the performance of the Auto Scaling group and the EC2 instances and troubleshoot any issues that arise.
You can navigate to the Monitoring section to view the graphical presentation of the utilization.
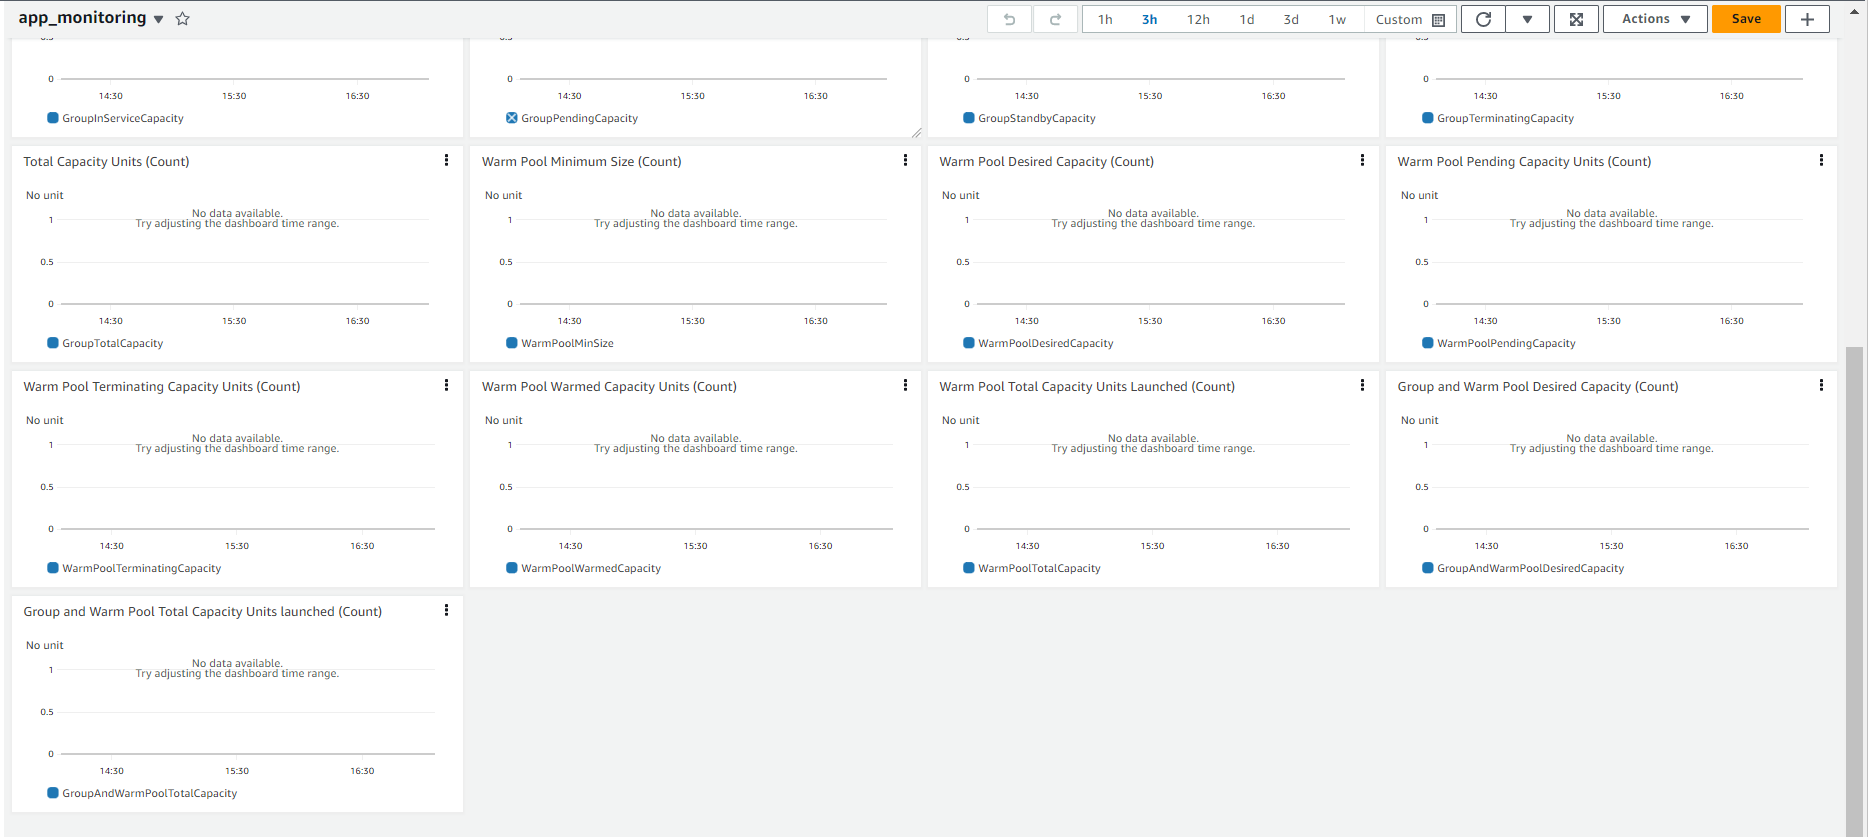
You can add the same to the already created dashboard in AWS CloudWatch.
Same can be setup to trigger an e-mail by setting a CloudWatch alarm.

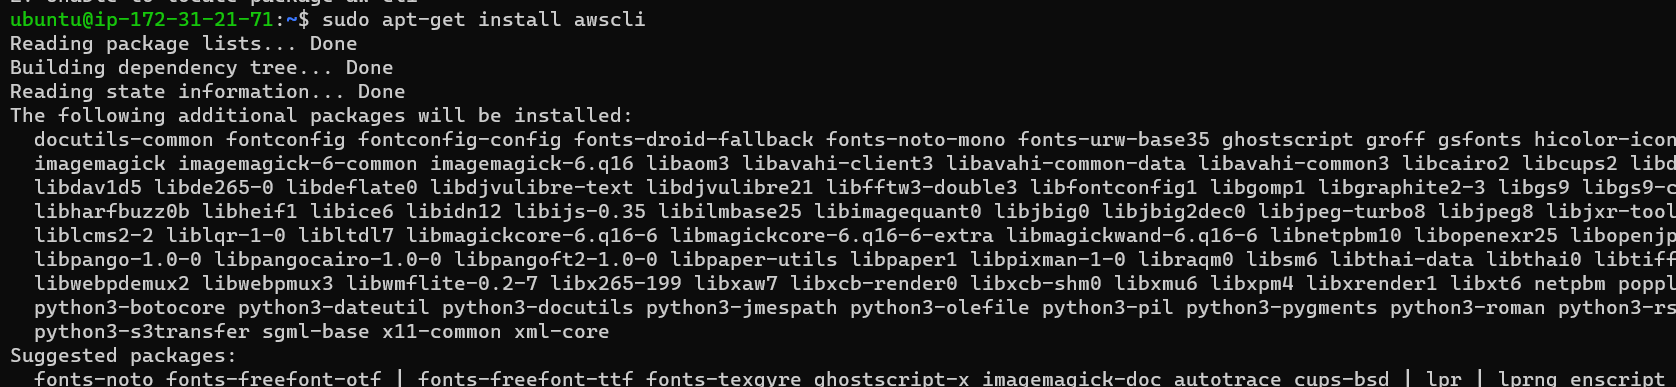
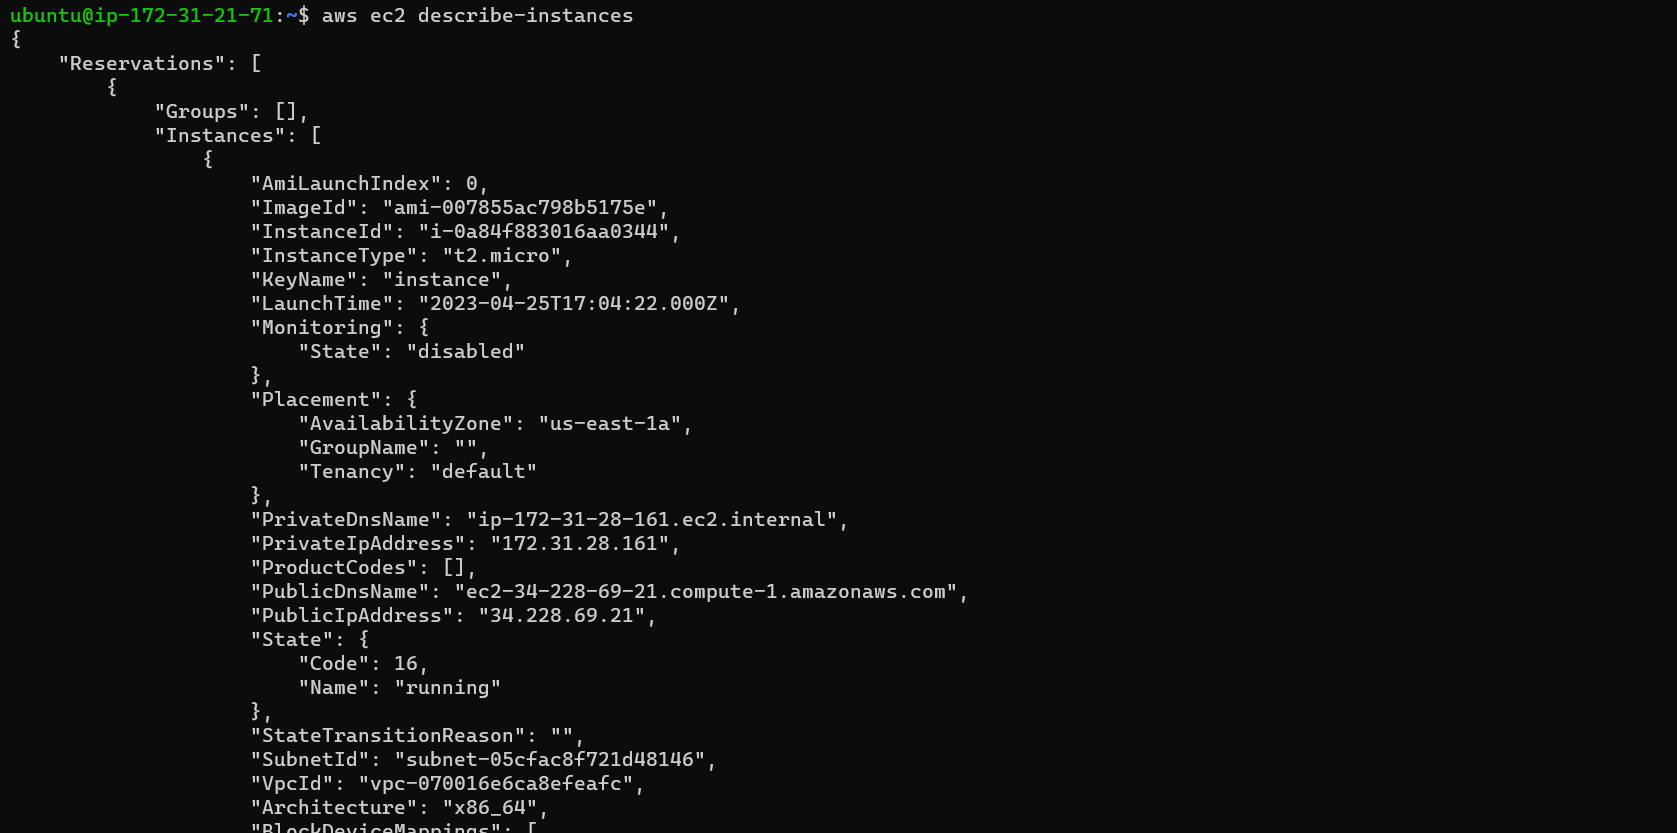
Use the AWS CLI to view the state of the Auto Scaling group and the EC2 instances and verify that the correct number of instances are running.
Install the AWS CLI on the instance.
You can verify the running Auto-scaling group with the AWS CLI command.

Also running EC2 instances can be verified.
Thanks for reading my article. Have a nice day.
You can follow me on LinkedIn for my daily updates:- linkedin.com/in/bandan-kumar-sahoo-131412203
Thanks,
Bandan


