DevOps(Day-45): Deploy Wordpress website on AWS

I like to explore the technology in DevOps area where I write blog about my learning each day on the tools that is mostly used in Industries for DevOps practices. You can go through my blogs and reach me out in LinkedIn for any suggestions.
Over 30% of all websites on the internet use WordPress as their content management system (CMS). It is most often used to run blogs, but it can also be used to run e-commerce sites, message boards, and many other popular things. This guide will show you how to set up a WordPress blog site.
Task: Project
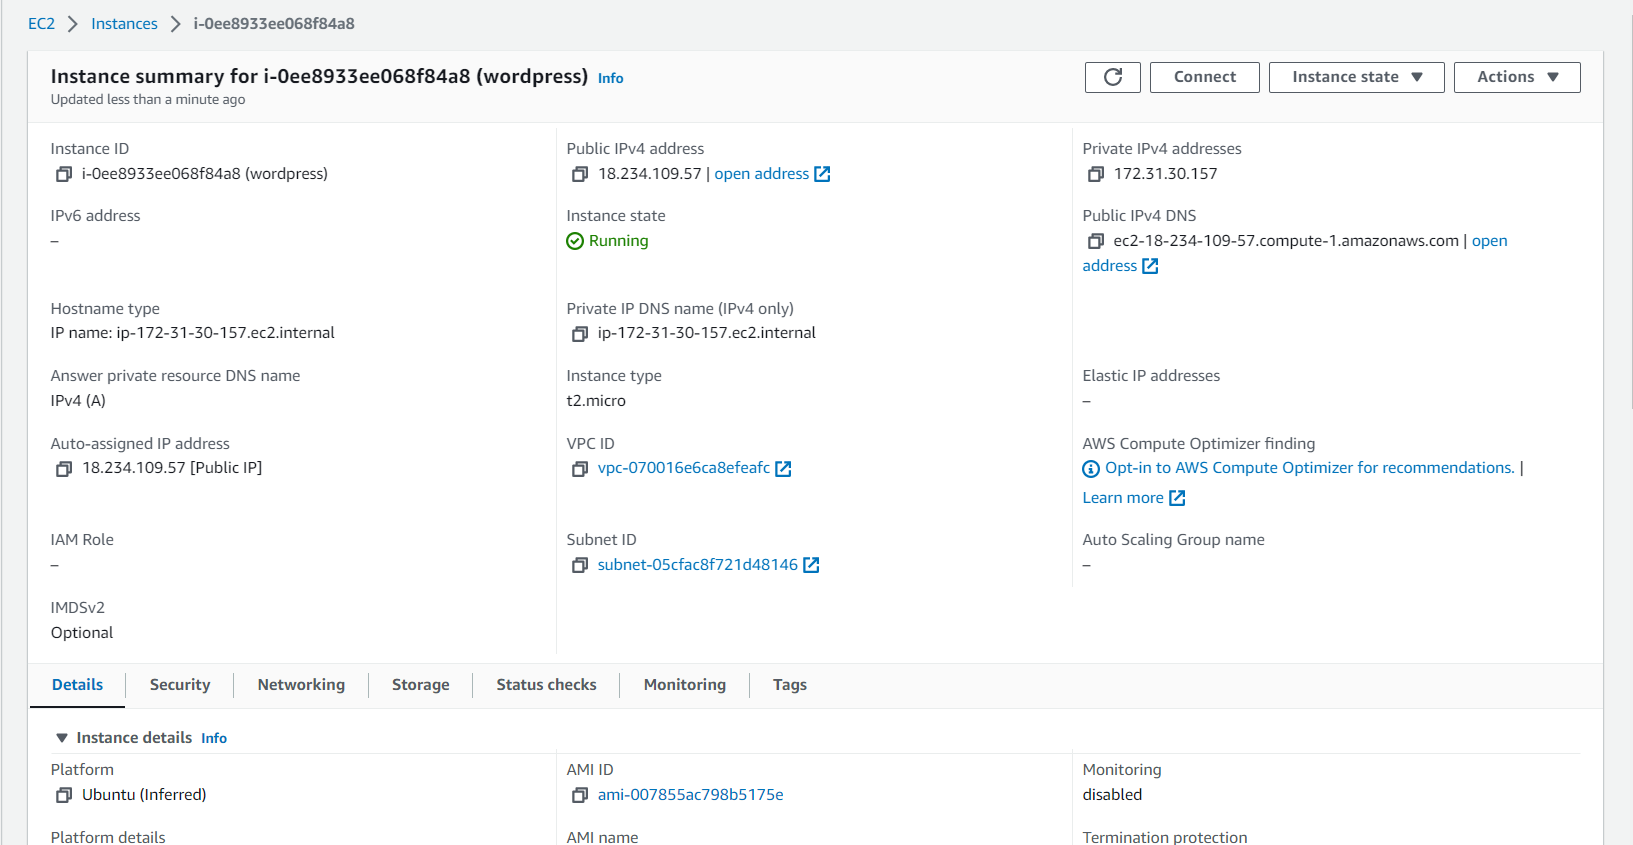
Create an EC2 instance with all the required configurations as we have seen in our previous AWS blogs. you can follow the below link:-
https://bandandevopsjourney.hashnode.dev/devopsday-40-aws-ec2-automation
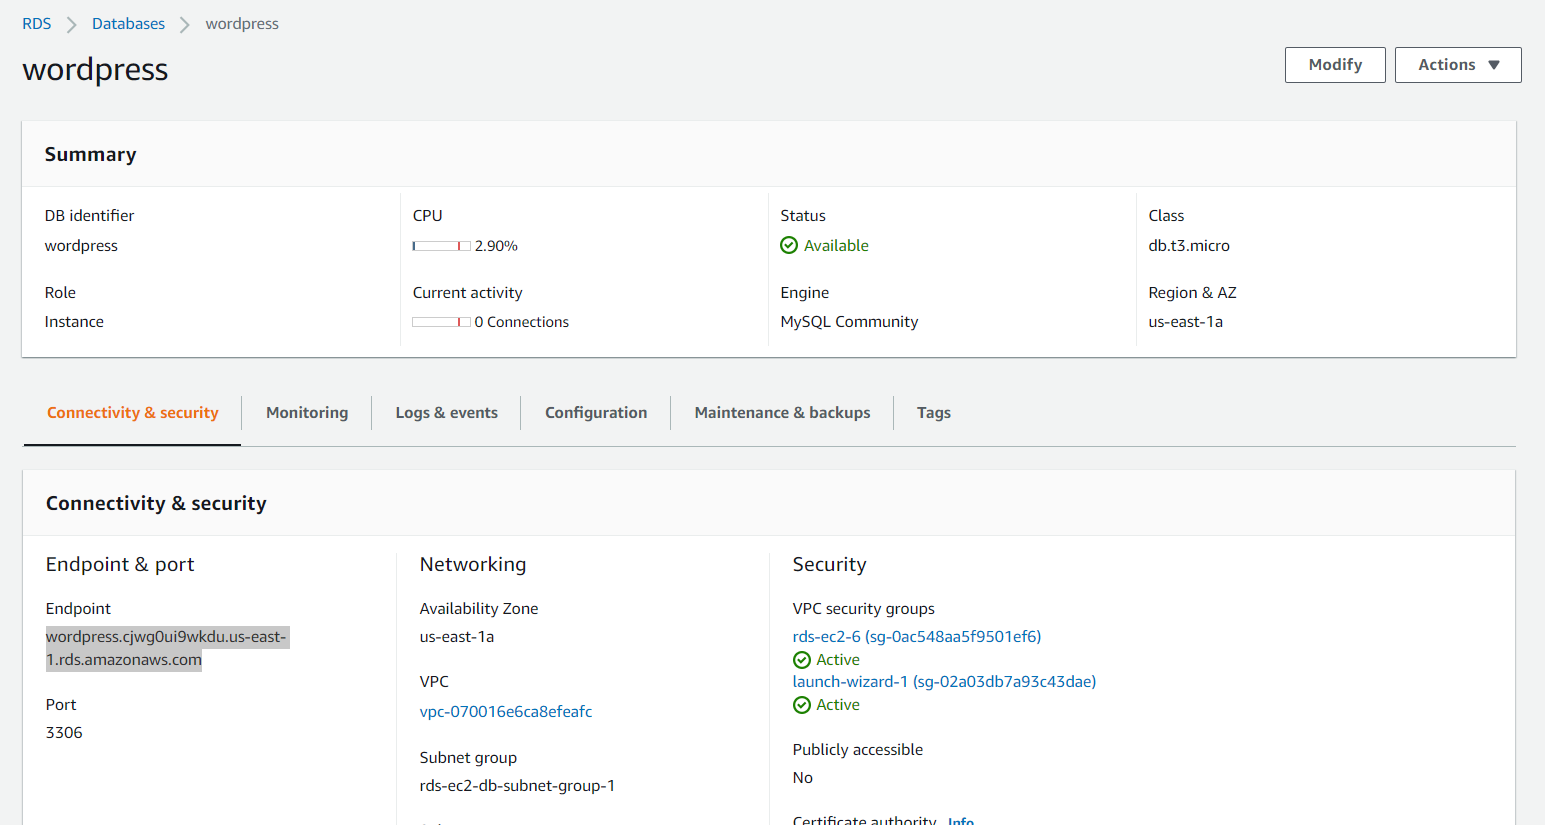
We have seen how to create an AWS RDS in our previous blog. You can follow the below link:-
https://bandandevopsjourney.hashnode.dev/devopsday-44-relational-database-service-in-aws
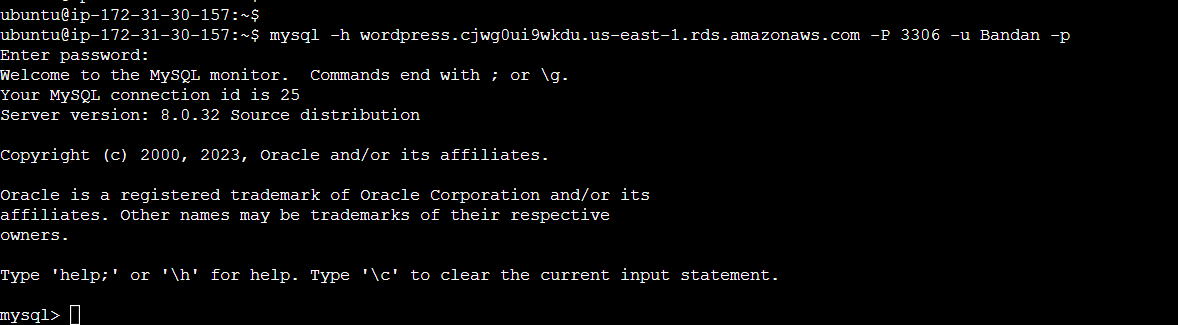
Login to AWS EC2 instance and install mysql-client in the server. Login to the database server.
Run the below commands to create a database and user.
 CREATE DATABASE wordpress;
 CREATE USER 'wordpress' IDENTIFIED BY 'wordpress-pass';
 GRANT ALL PRIVILEGES ON wordpress.* TO wordpress;
 FLUSH PRIVILEGES;
 Exit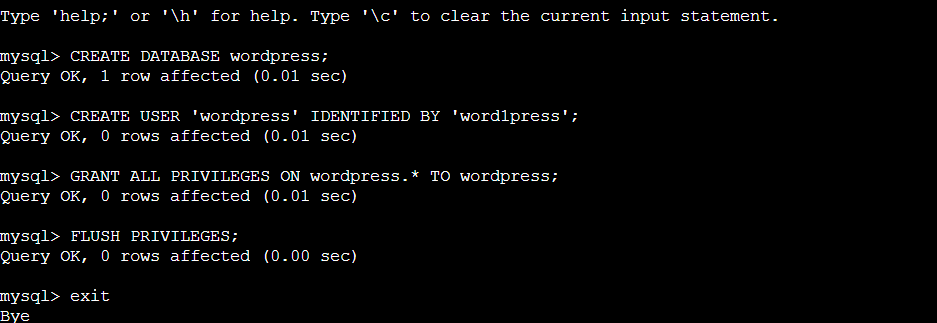
Install apache2 on the ubuntu server.
sudo apt-get update && sudo apt install -y apache2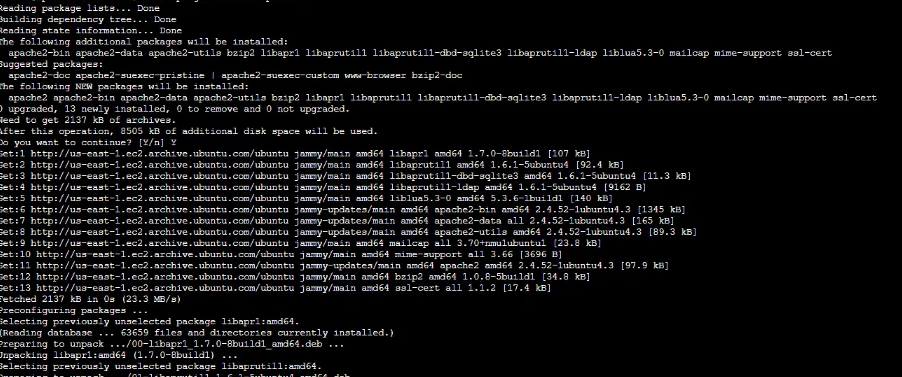
Let's check the public IP URL to view Apache2 web page.

Install WordPress on the server.
 wget https://wordpress.org/latest.tar.gz
 tar -xzf latest.tar.gz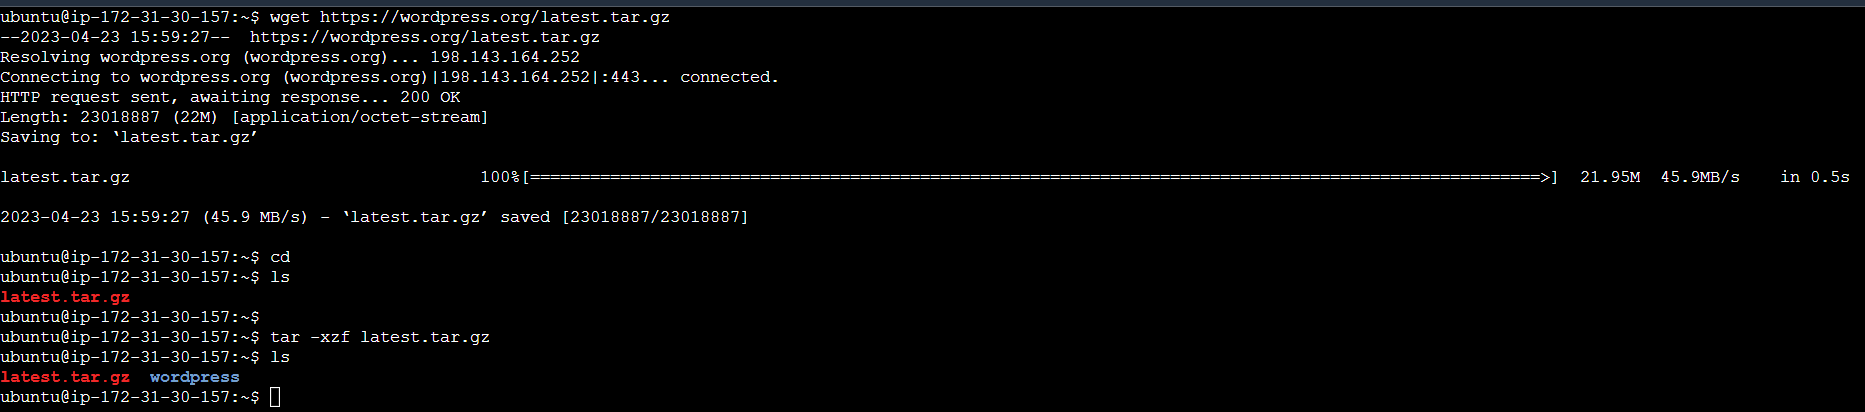
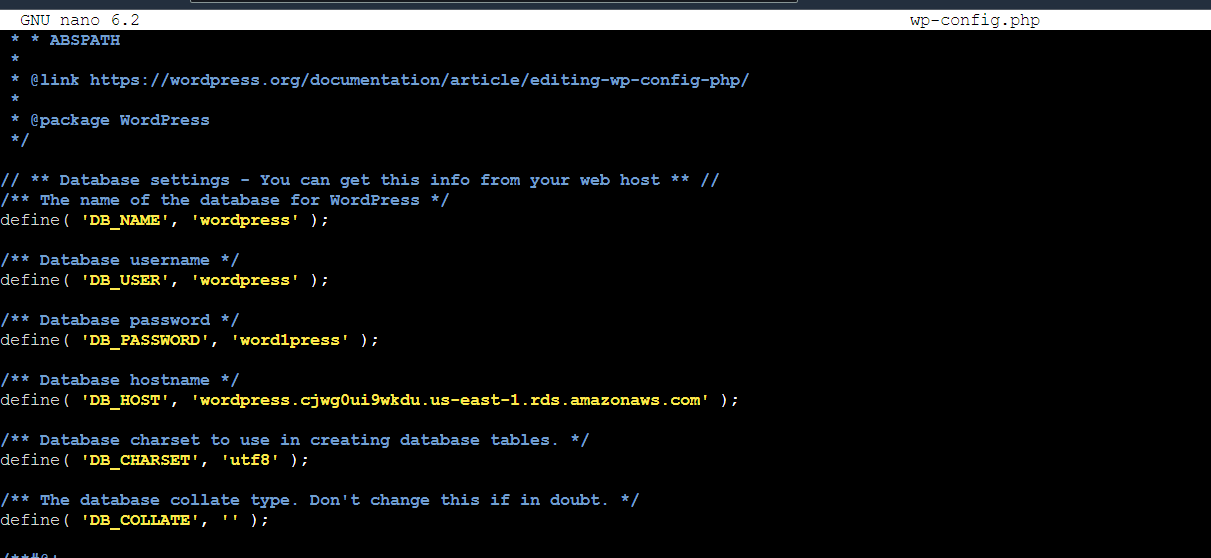
Rename the config file.

Change the wp-config.php file with the credentials, db name and db hostname created earlier.

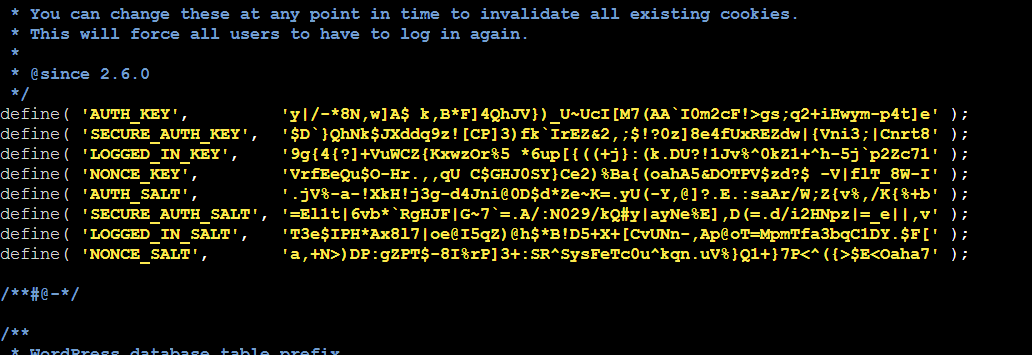
A set of unique keys needs to be provided to the config file also.
Install the dependency of the application on the server.
sudo apt install php libapache2-mod-php php-mysql -yaCopy the file contents from the WordPress folder to /var/www/html folder to configure the application with Apache web server.


Restart the Apache web server.

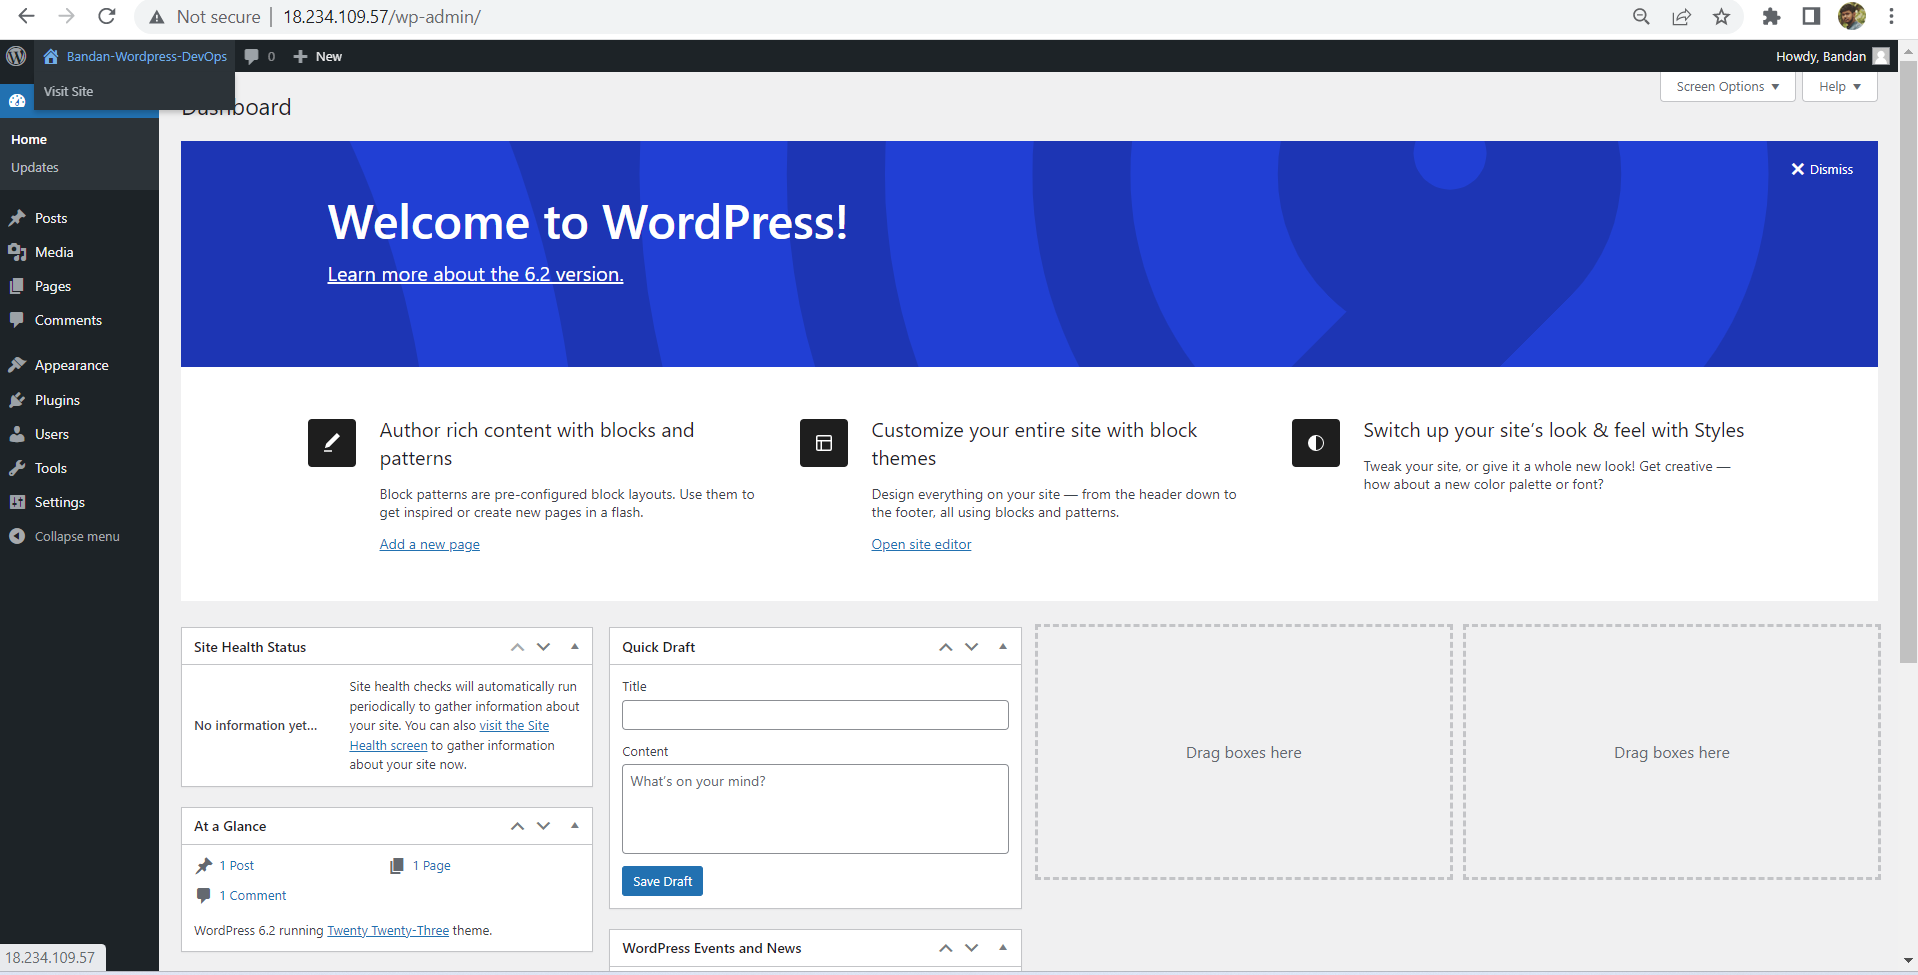
Navigate to <public IP>/wp-admin/ to view the WordPress website.
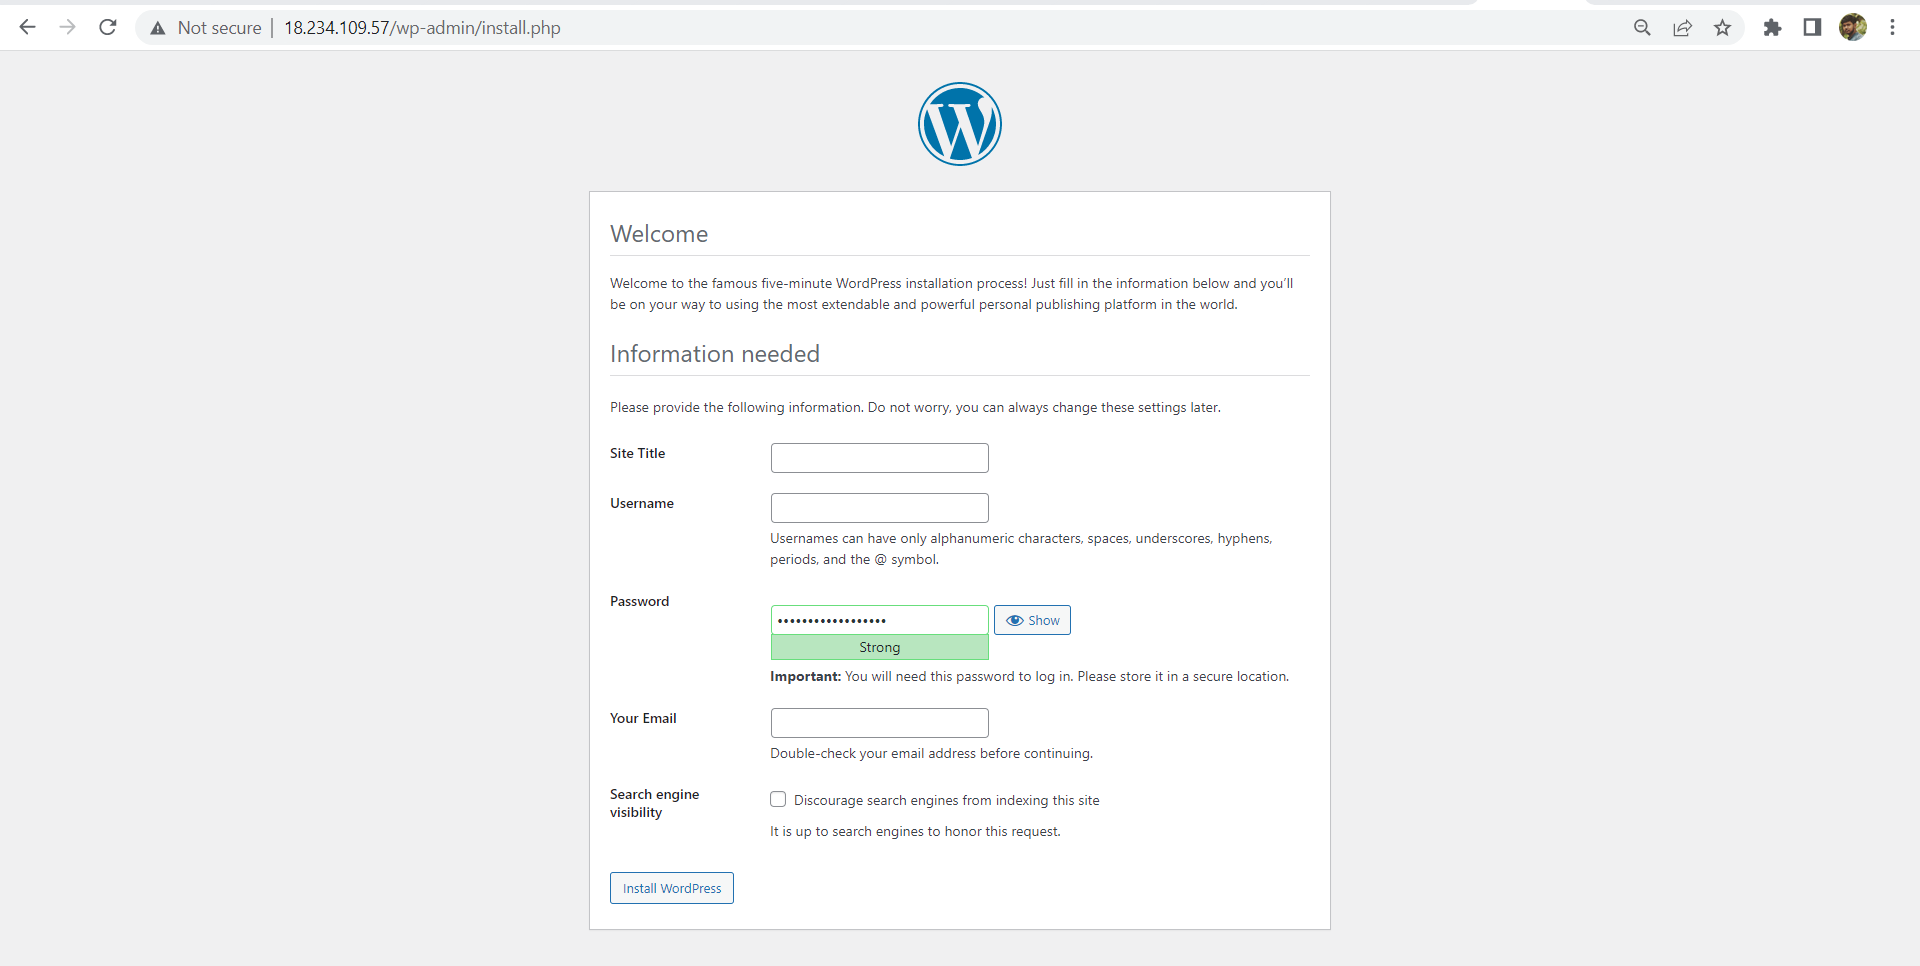
Now we can create a user in the WordPress site to get going in the application.
Thanks for reading my article. Have a nice day.
You can follow me on LinkedIn for my daily updates:- linkedin.com/in/bandan-kumar-sahoo-131412203


